Shower Silicone Removal & Resealing
Replace Mouldy, Split Caulking With Precision Sanitary Seals
We cut away black, peeling silicone caulk, sanitise and degrease the joints down to bare tile, and tool neat, mould-inhibited sanitary silicone along shower perimeters and bath edges.
What We Do & The Problem We Solve
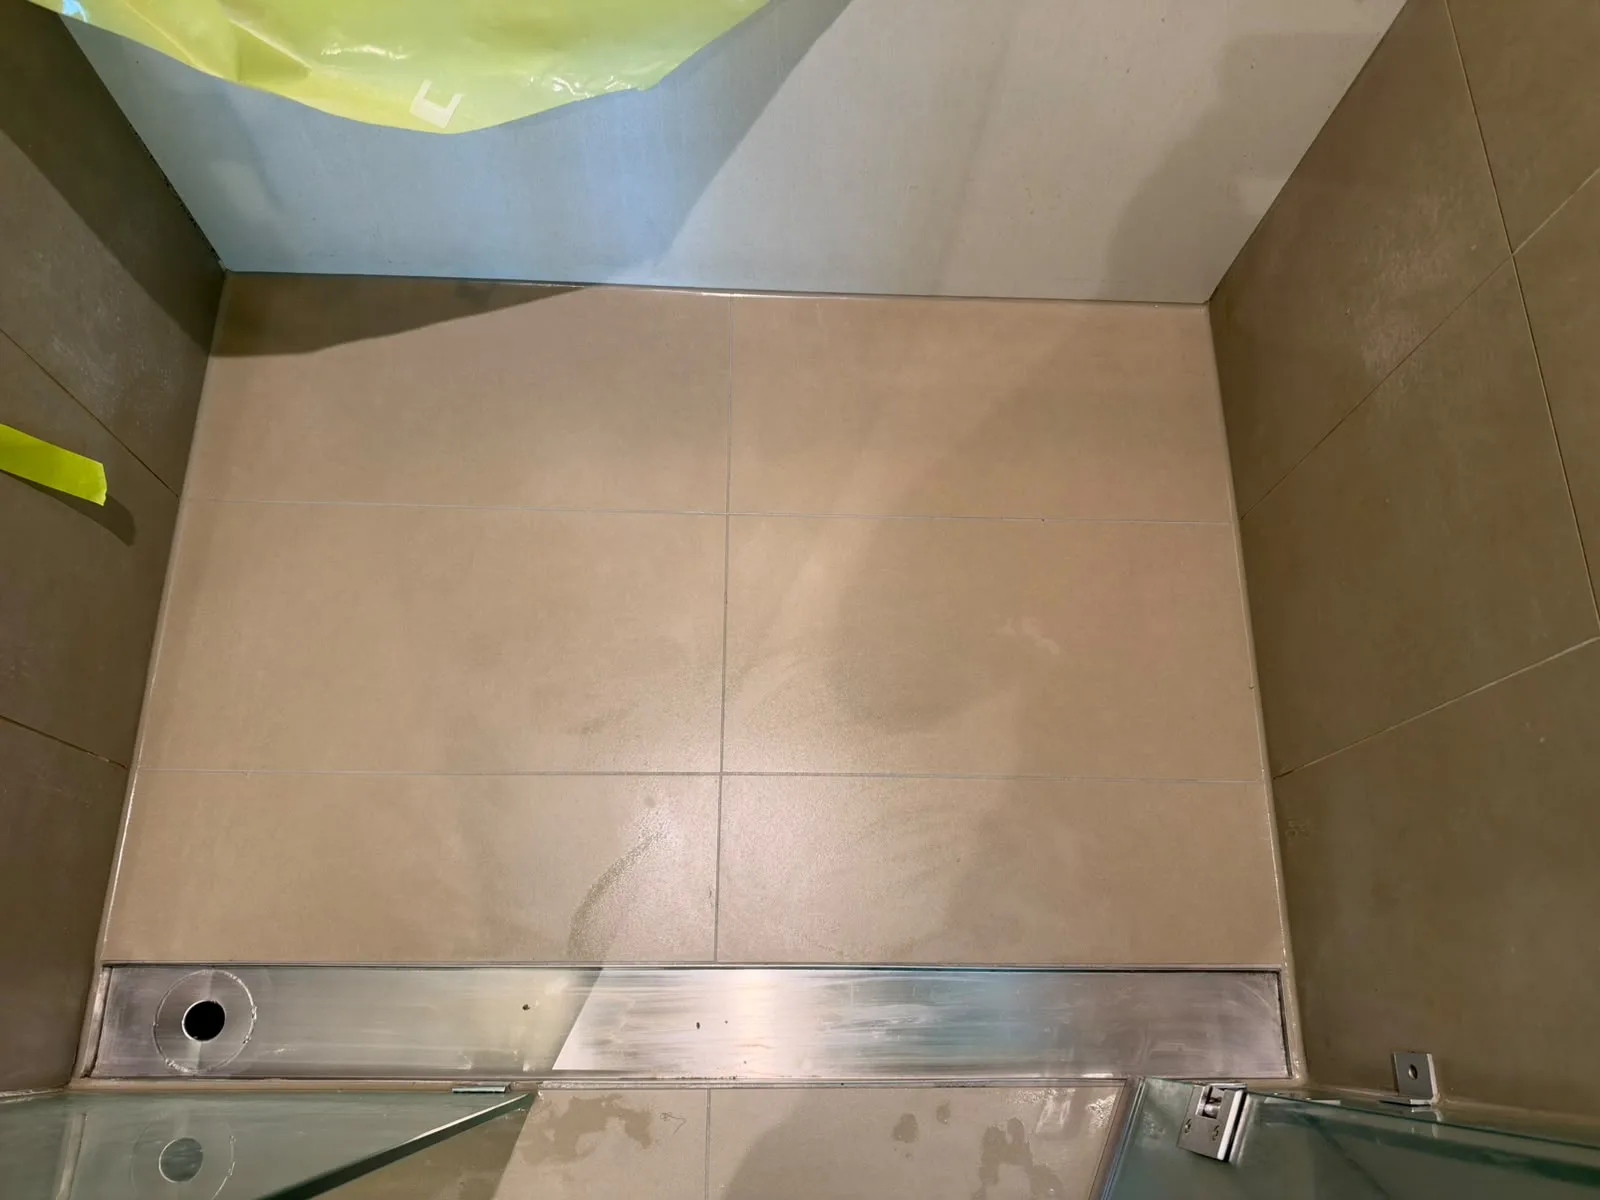
In any tiled bathroom, internal 90-degree corners and junctions where tiles meet bathtubs, vanities, or shower screens are movement joints. As timber frames and concrete foundations expand and contract with temperature and moisture, rigid grout in these junctions cracks. That is why flexible silicone sealant is essential.
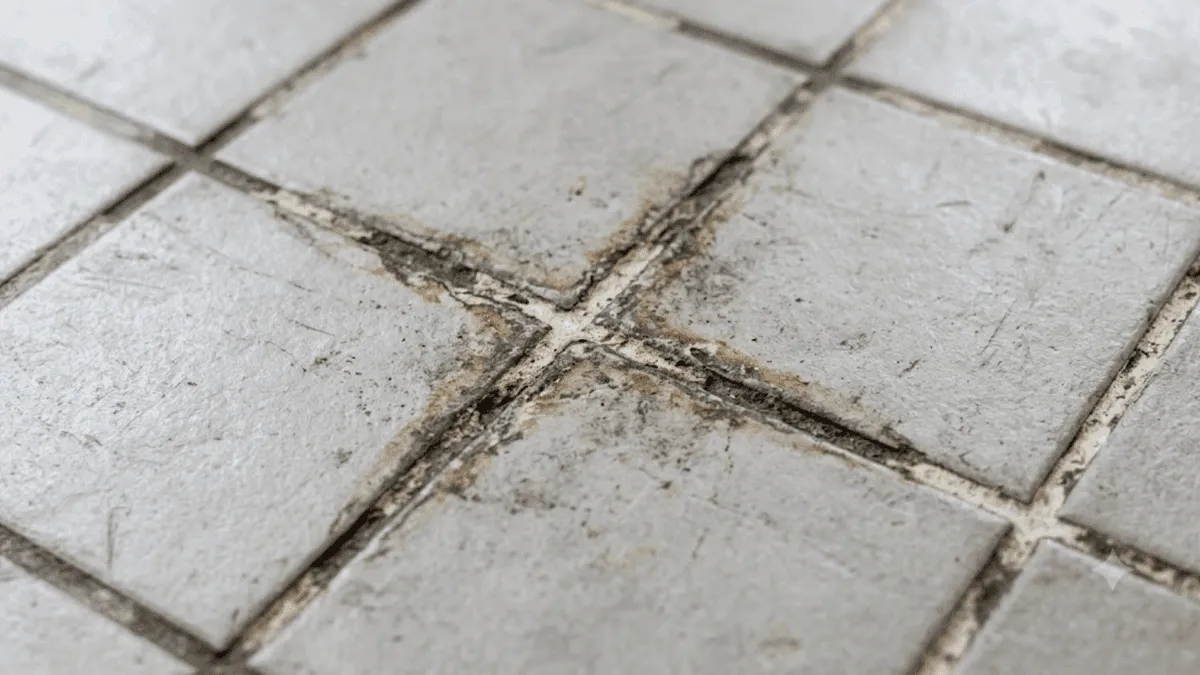
However, even quality silicone has a finite lifespan of 3 to 7 years. Over time, constant exposure to body oils, soap residues, and hot steam causes the silicone to lose its elasticity. Once the bead pulls away from the tile face, moisture is drawn behind it by capillary action, creating an ideal breeding ground for stubborn black mould that cannot be scrubbed off.
Applying new silicone over old, mouldy caulk never works—the new bead will not bond and peels off within weeks. We completely slice out the old bead, dissolve remaining silicone film, degrease the joint with isopropyl alcohol, and tool a fresh, smooth bead that sheds water freely.
Signs Your Silicone Needs Replacing
- Black mould spots growing behind translucent or white silicone beads that bleach cannot remove
- Silicone peeling away or curling up at the edges, leaving a gap where water enters
- Split, torn, or shredded silicone beads along the shower floor junction
- Yellowed, brittle, or powdery caulking around inset bathtubs or vanity tops
- Water weeping into hallway carpet or adjacent walls when someone showers
- Hollow cavities or jagged, lumpy silicone beads left behind by previous DIY attempts
Our Resealing Process
Every step is executed with commercial-grade tooling to ensure a long-lasting, watertight result.
Complete Silicone Extraction
We carefully cut away the old silicone using dedicated razor scrapers and non-scratch blades, removing the entire core bead without scratching porcelain, acrylic, or glass.
Residue & Film Dissolution
Remaining microscopic silicone film is treated with specialised silicone digester to ensure clean bare tile adhesion for the new seal.
Anti-Fungal Sanitisation
The joint cavity is treated with a mould-killing agent and allowed to dry completely to prevent trapped fungal spores behind the new sealant.
Isopropyl Degreasing & Masking
Tile and fixture surfaces are wiped clean with high-purity isopropyl alcohol to eliminate all oils, soap scum, and moisture.
Precision Bead Dispensing & Tooling
Premium neutral-cure sanitary silicone is extruded into the joint and professionally tooled into a smooth concave bead that encourages water run-off.
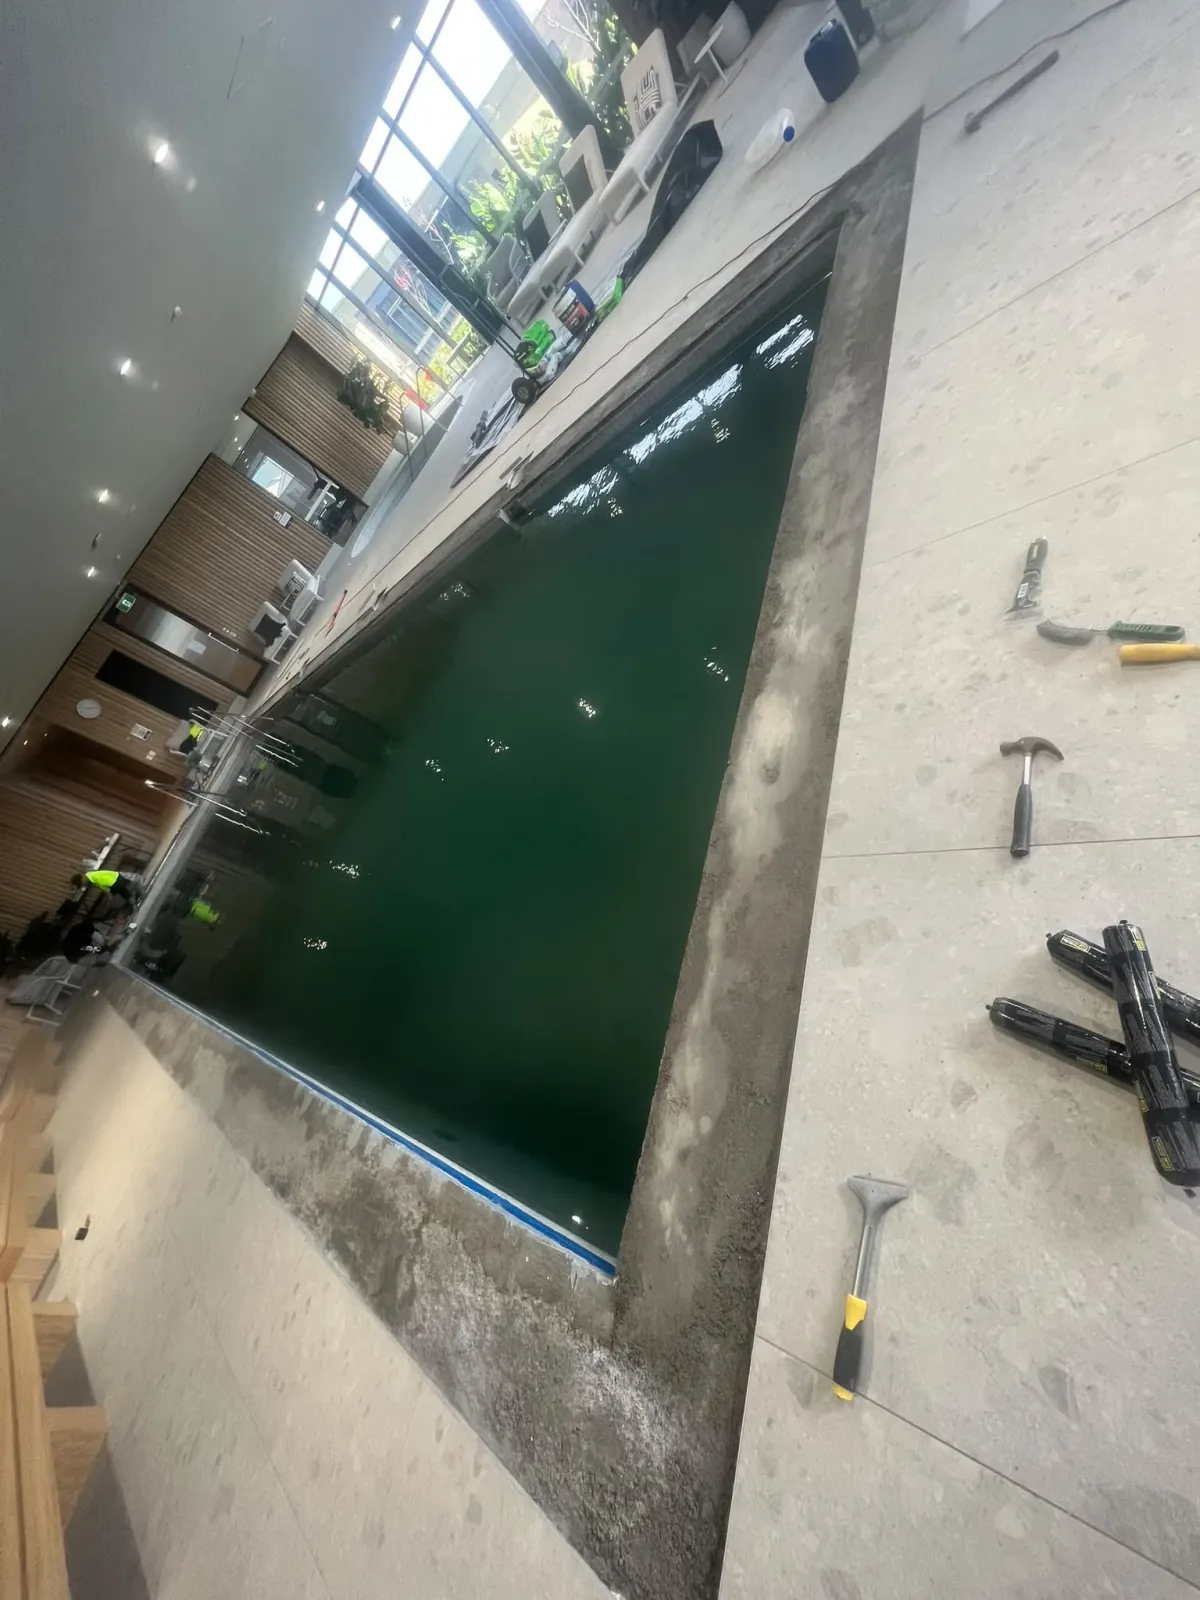
We remove degraded grout to a clean uniform depth and thoroughly sanitise the joint cavity before injecting new compound.
Is This Service Right for Your Bathroom?
We believe in straightforward trade advice. Here is an honest breakdown of when this service succeeds, and when a different approach is necessary.
When Silicone Resealing Is Suitable
- Perimeter caulking around shower bases, baths, and vanities is mouldy, split, or loose
- Wall and floor tiles are solidly bonded and the main grout joints are in good condition
- Water is escaping through torn internal corner joints rather than through failed membranes
- You require an aesthetic refresh after completing new bathroom painting or tapware upgrades
When Resealing Alone Is NOT Suitable
- Tiles in the corner are drummy, loose, or moving independently when pressed
- Water is leaking directly through cracked cement grout across the centre of the shower floor
- The underlying waterproofing membrane has ruptured beneath the shower screed
- Wall framing behind the corner has suffered rot, requiring structural timber replacement
Honest Trade Advice: Waterproofing Membranes vs. Regrouting
Regrouting and perimeter silicone replacement restore damaged, porous, or mouldy joints. However, regrouting addresses grout-level water ingress but cannot repair or restore a failed waterproofing membrane. Under Australian building standards (AS 3740), internal waterproofing membranes sit beneath the screed and tile bed. If that membrane or structural substrate has failed, regrouting alone cannot fix an underlying leak. We provide clear, honest assessments from photos and on-site checks so you only pay for what actually solves the problem.
Silicone Types & Colours
Neutral-Cure Sanitary Silicone
Superior flexibility, non-acidic cure that adheres strongly to ceramic, porcelain, acrylic, and aluminium without corroding metal frames.
Active Fungicide Protection
Formulated with long-lasting biocide additives designed to withstand regular bathroom moisture exposure.
Colour Matching
Available in pure brilliant white, translucent/clear, off-white, light grey, mid grey, charcoal, and black.
Curing & Shower Wait Times
Follow the product manufacturer's technical data sheet for curing times. Most neutral-cure sanitary silicones skin over in 15 to 30 minutes, but need a full 24 hours to cure through the bead. The shower must not be used or splashed with water during this 24-hour curing window.
Why Invest in Professional Resealing
Pliable Movement Accommodation
High-grade neutral-cure silicone maintains elasticity, absorbing everyday structural shifts without tearing away from tiles.
Active Mould Inhibitors
Formulated with commercial fungicides that retard mould colonisation along the bead edges.
Crisp, Uniform Bead Profile
Consistently tooled lines eliminate unsightly smears and jagged lumps, delivering a polished, high-end look.
Stops Concealed Wall Leaks
Properly sealed perimeters prevent splash water from escaping behind shower bases and skirting boards.
Before & After
Drag the comparison handle left or right to inspect before and after stages from our Melbourne work.
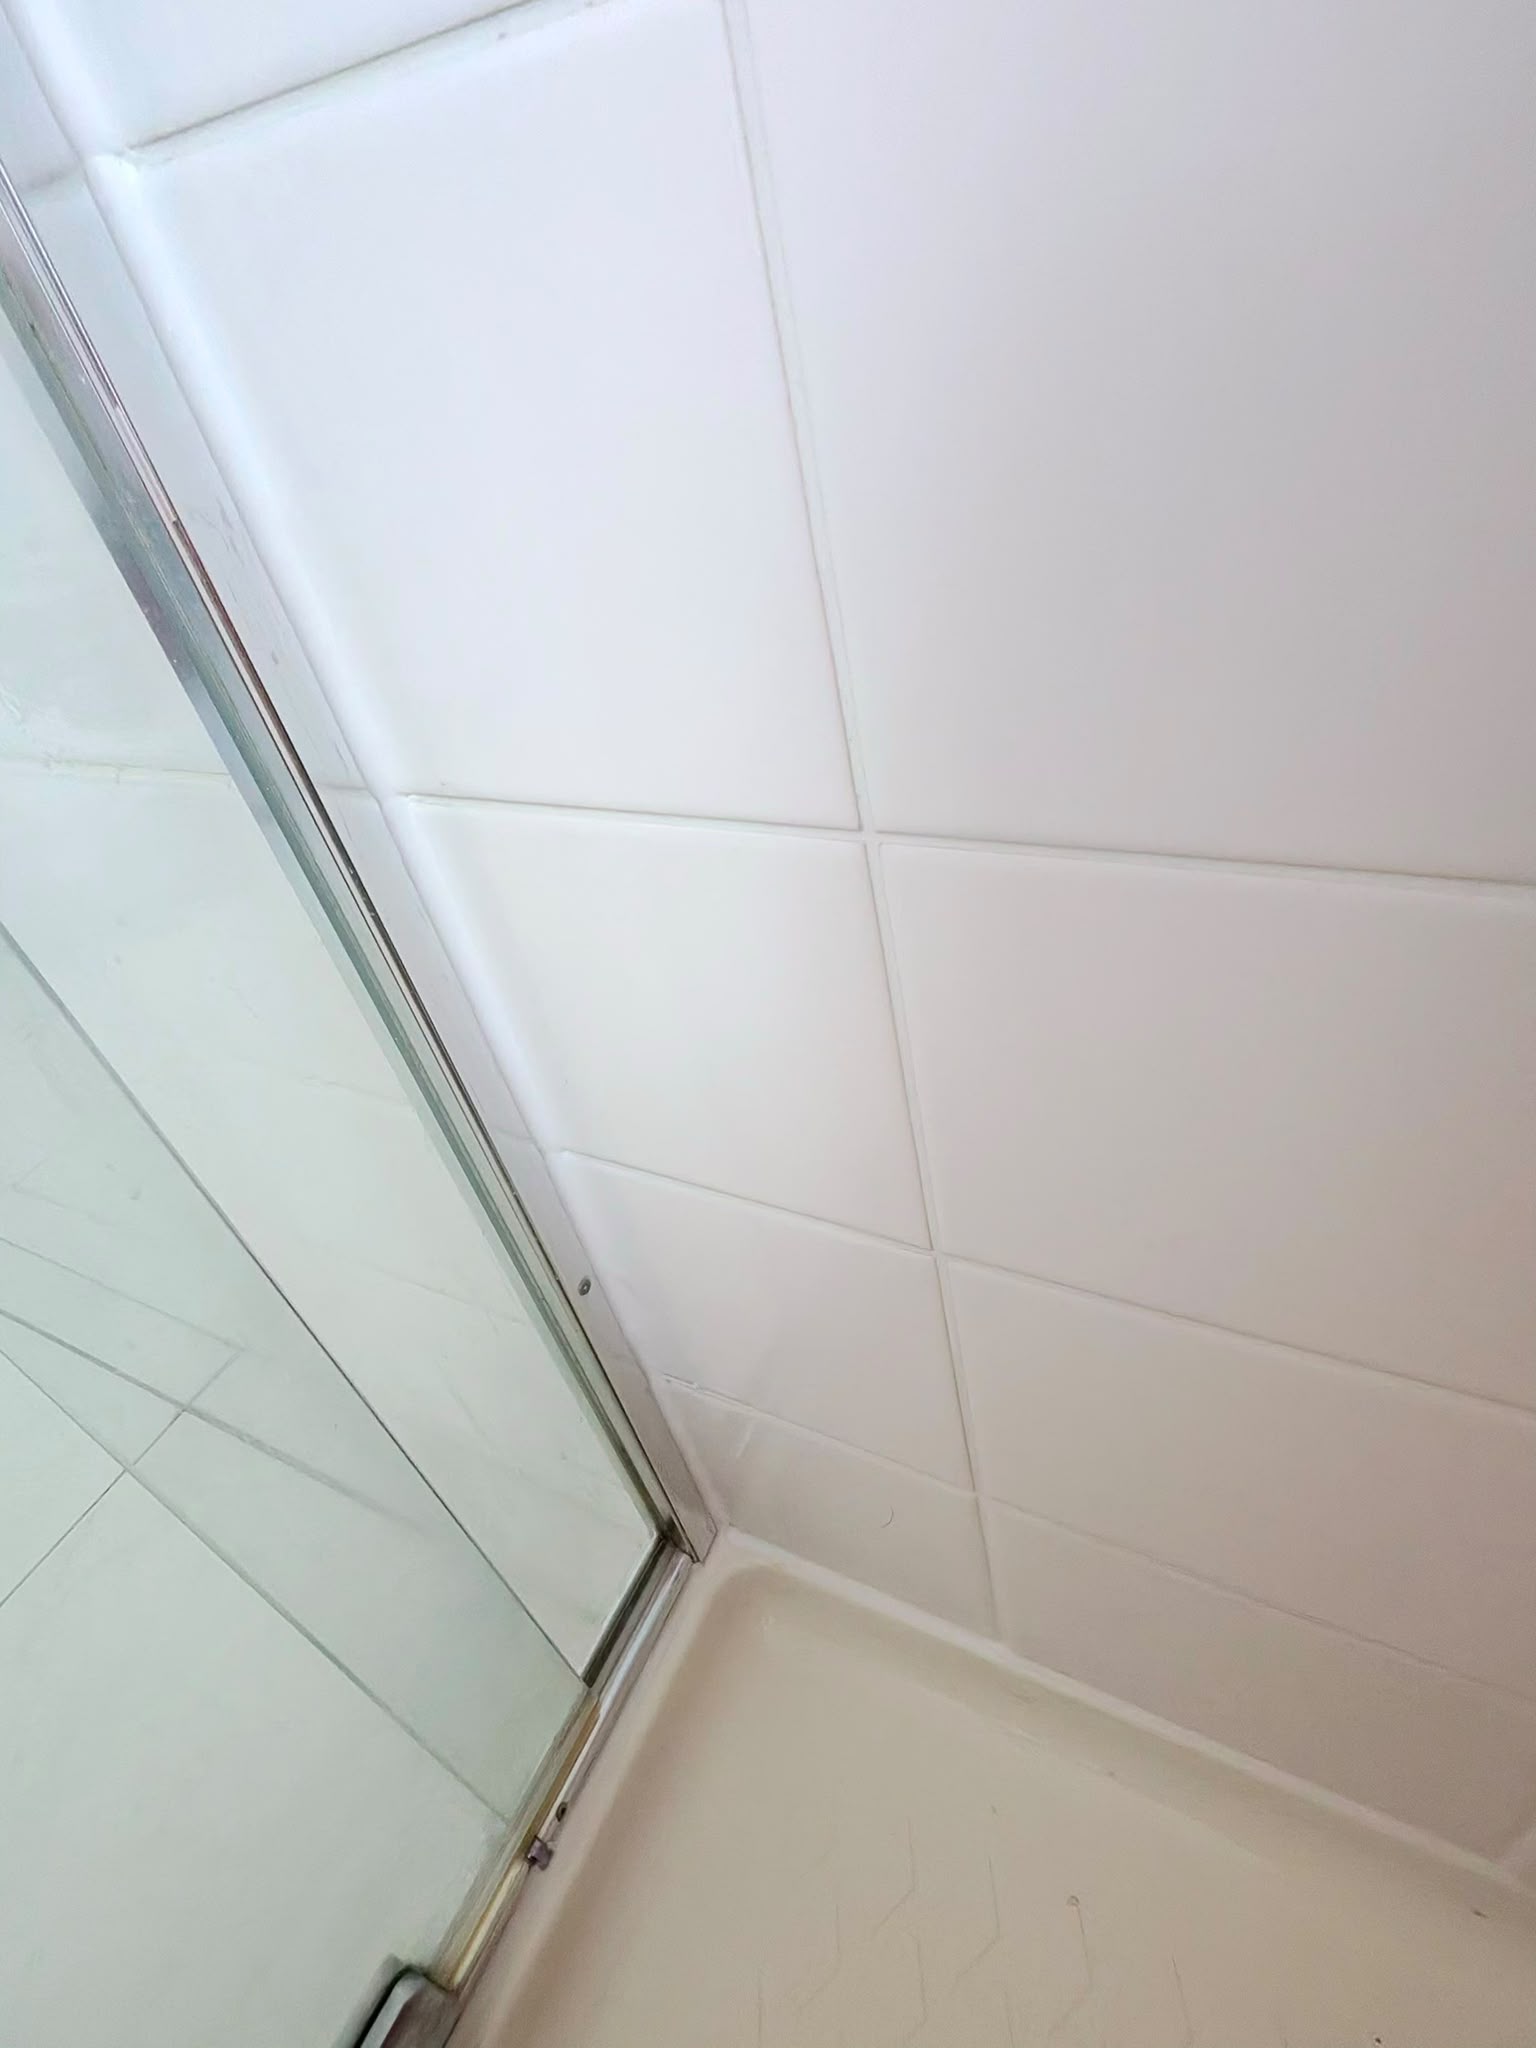
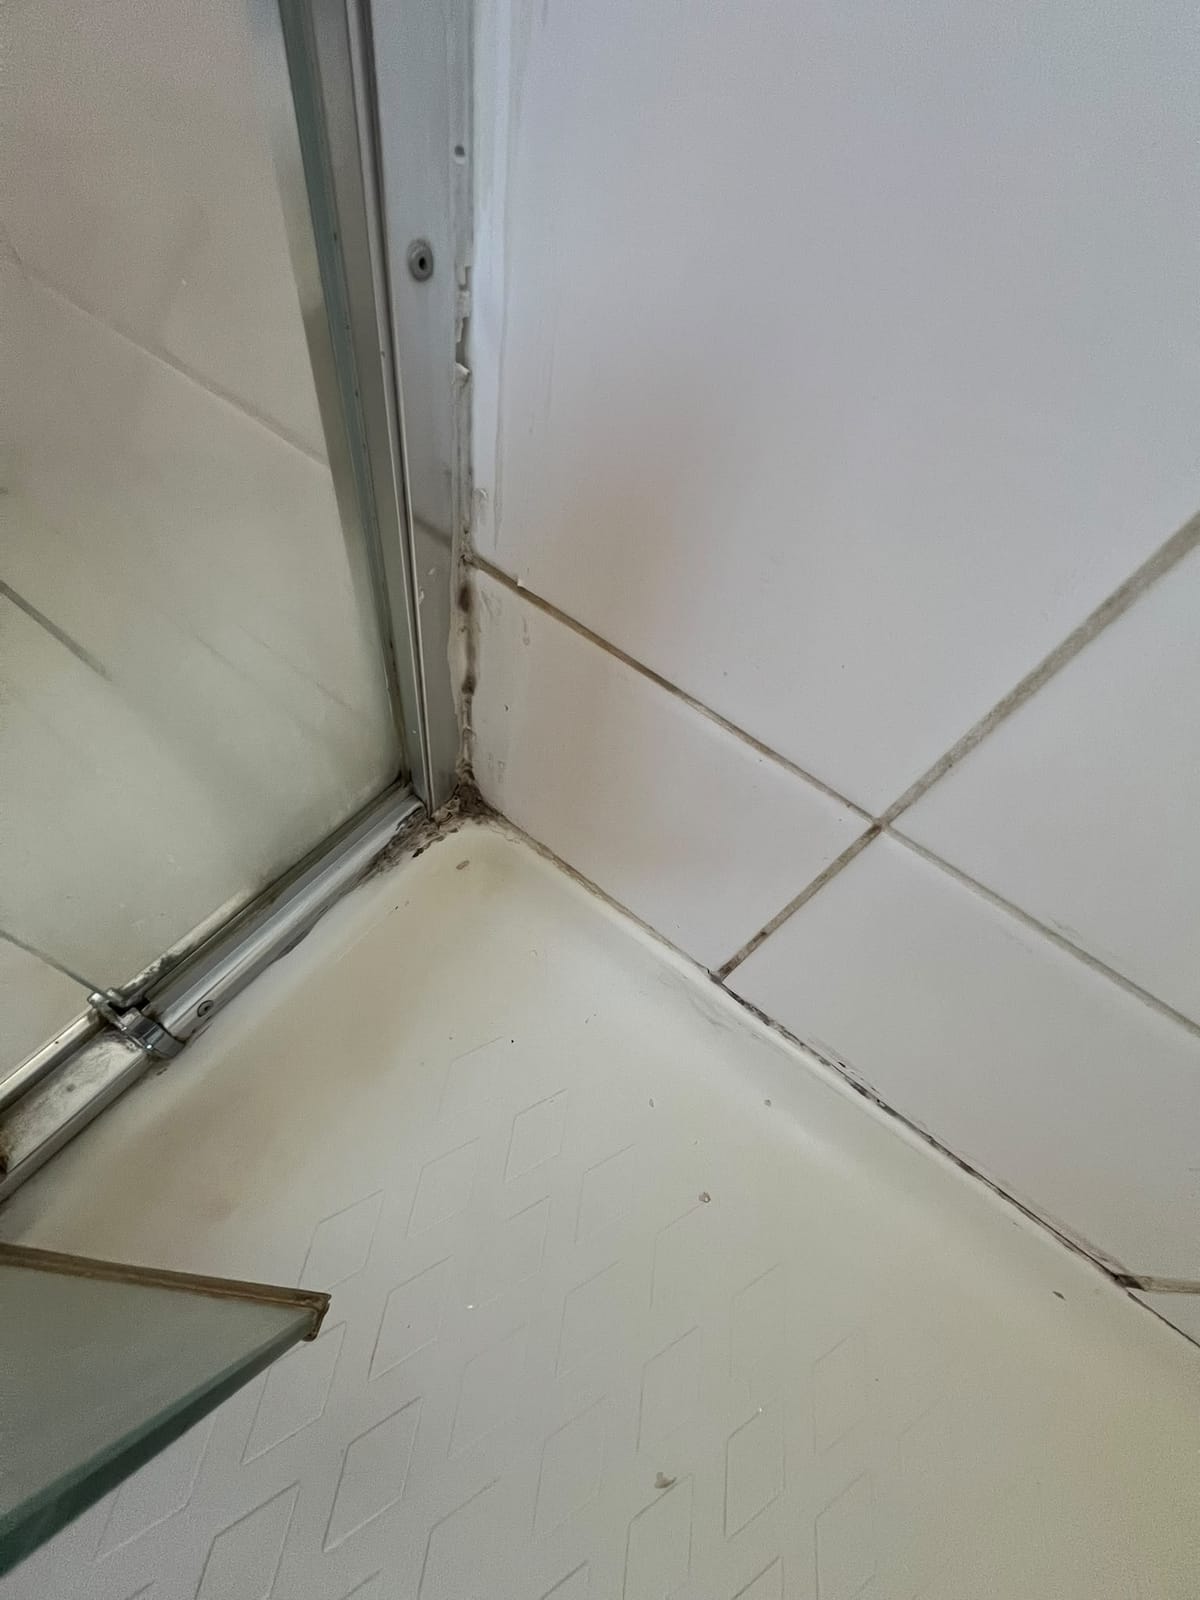
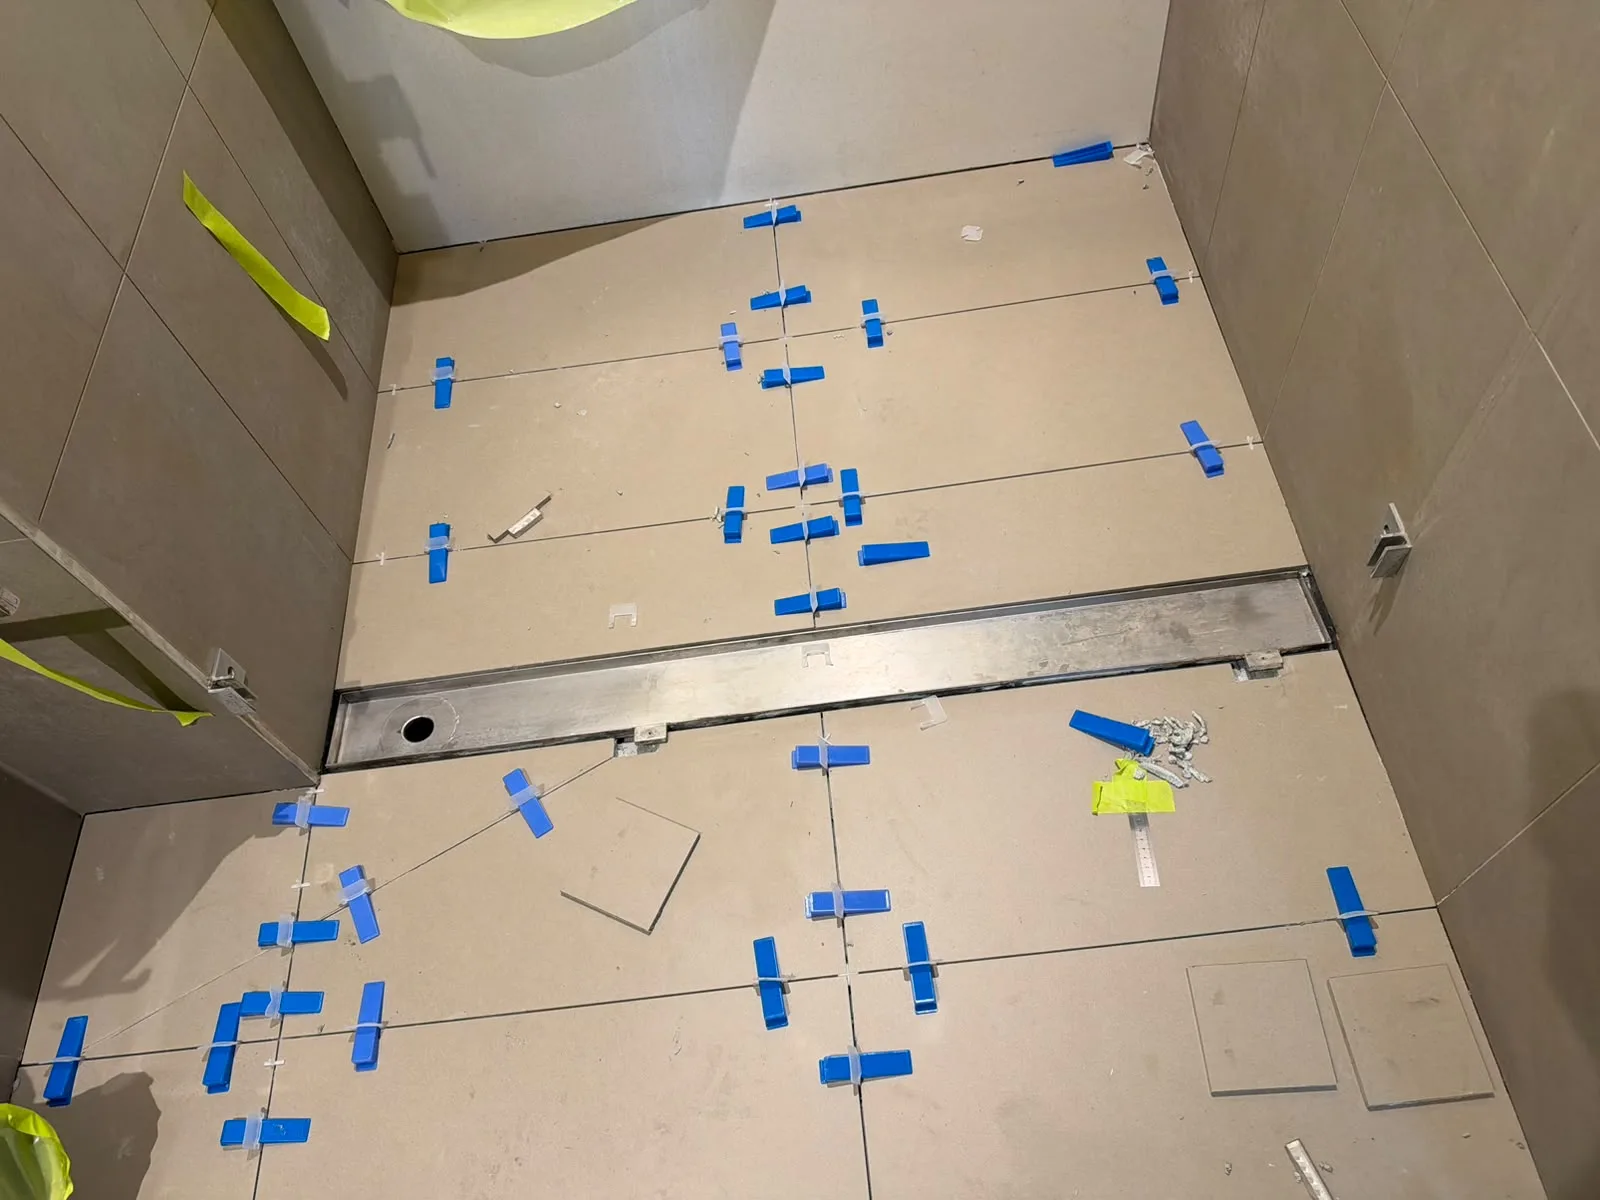
Additional Completed Views
Silicone Resealing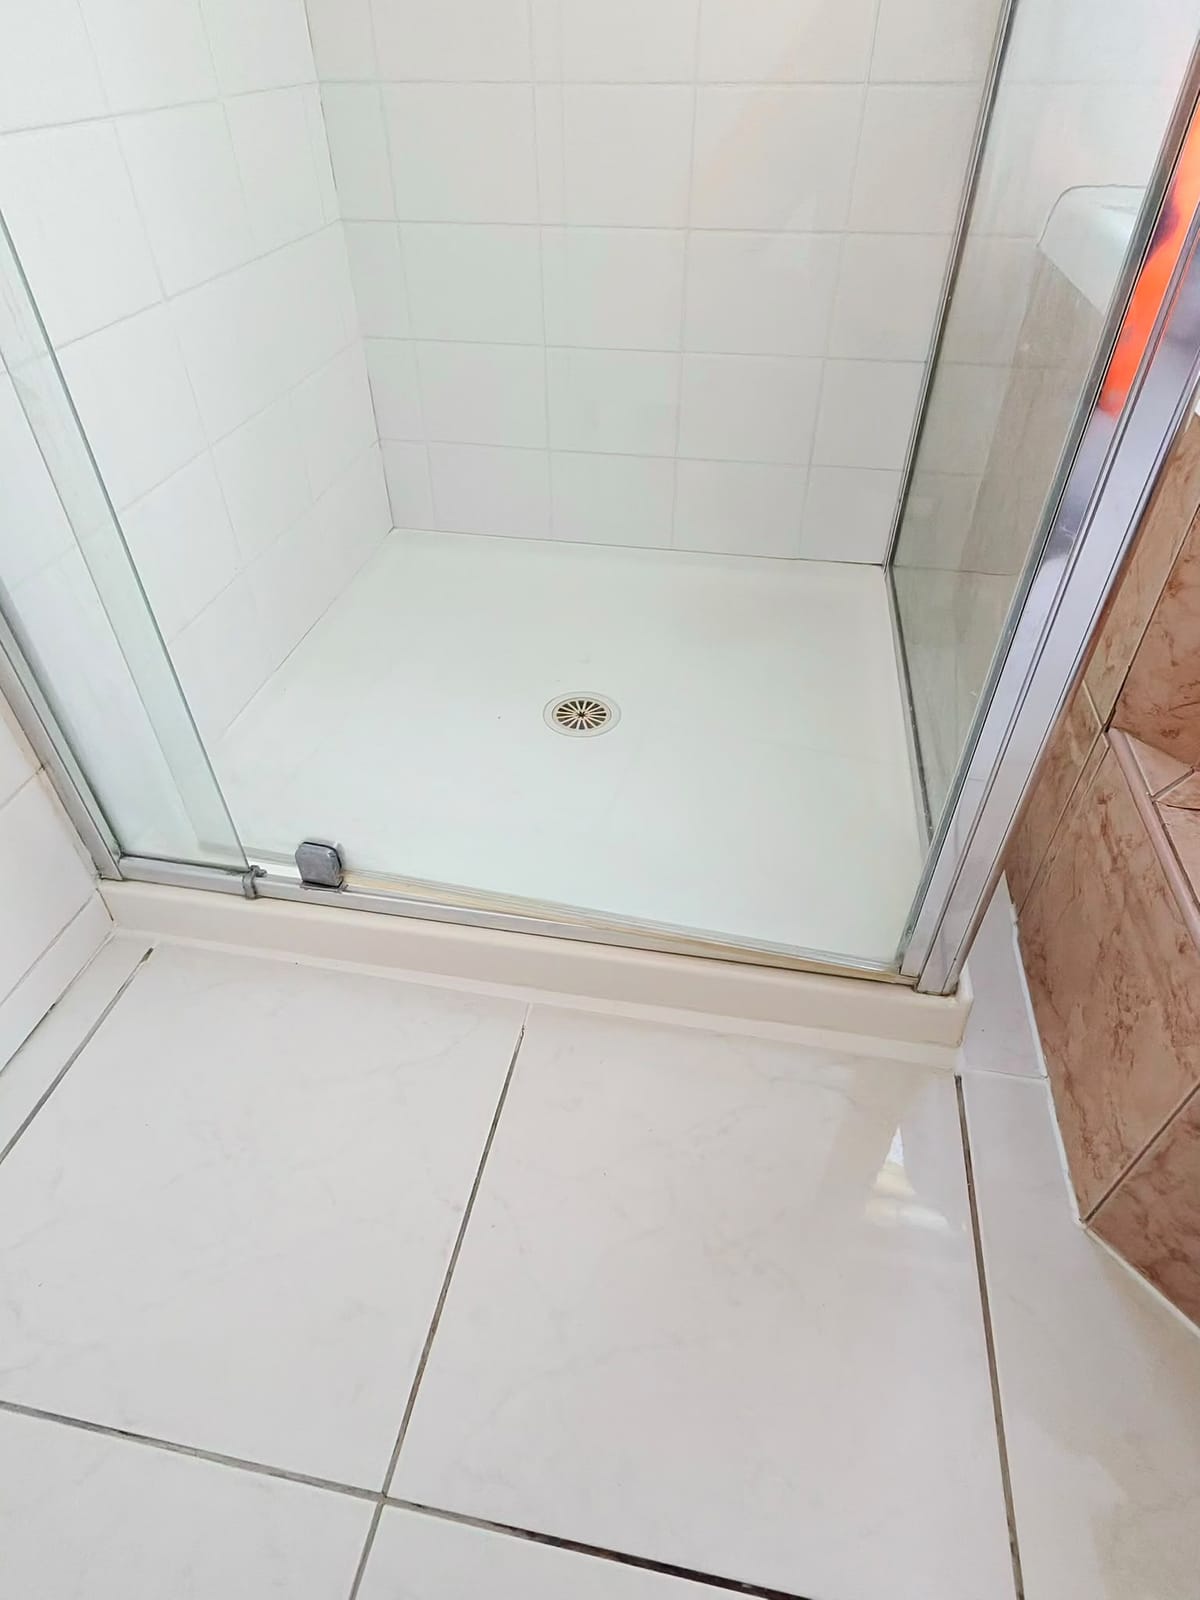 Silicone & Regrouting
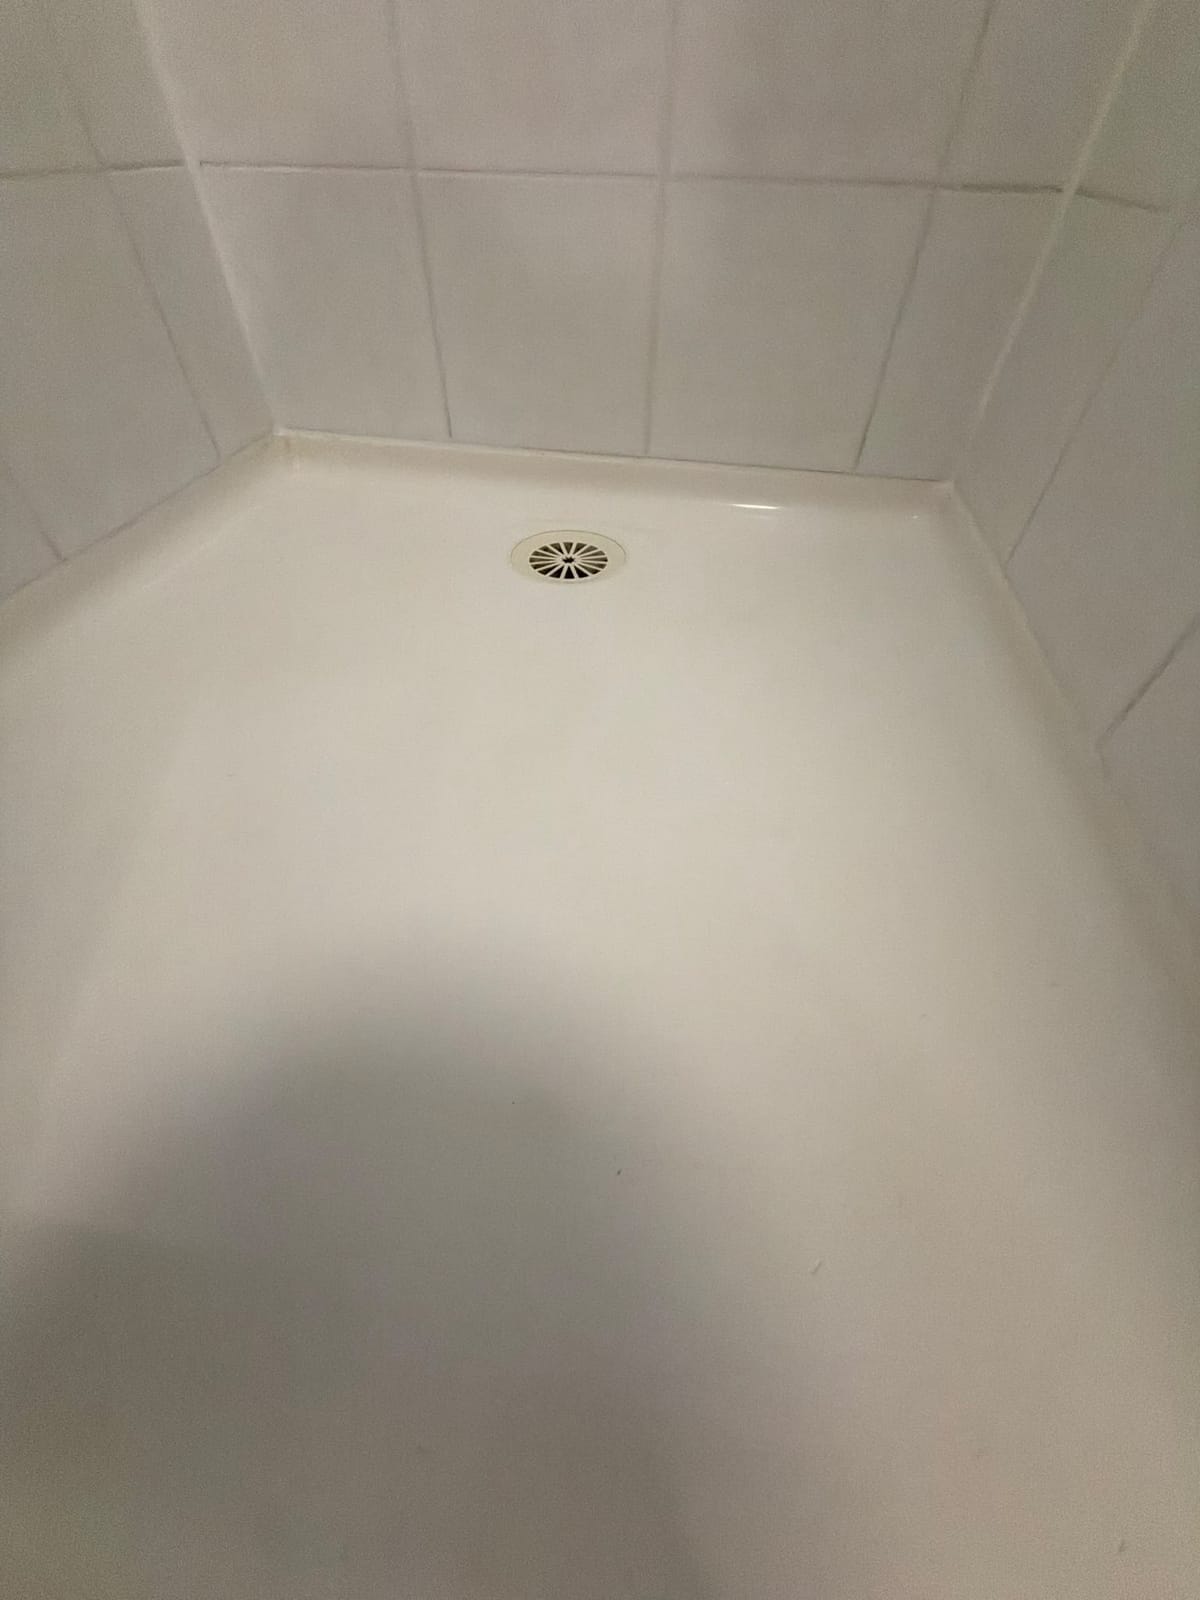 Silicone ResealingSilicone Resealing
Trade Precision, Not Messy DIY Caulking
Tooling silicone in wet areas is a learned trade skill. Poor technique results in thick, messy beads that trap water and peel away quickly. We take pride in razor-clean lines and thorough surface decontamination.
- Complete old silicone extraction: we never cap over existing degraded caulk
- Commercial neutral-cure silicone that will not corrode fixtures or mirror backings
- Wide choice of trade colours to blend seamlessly with your tiles or grout
- Straight, concave beads that shed water naturally toward the floor drain
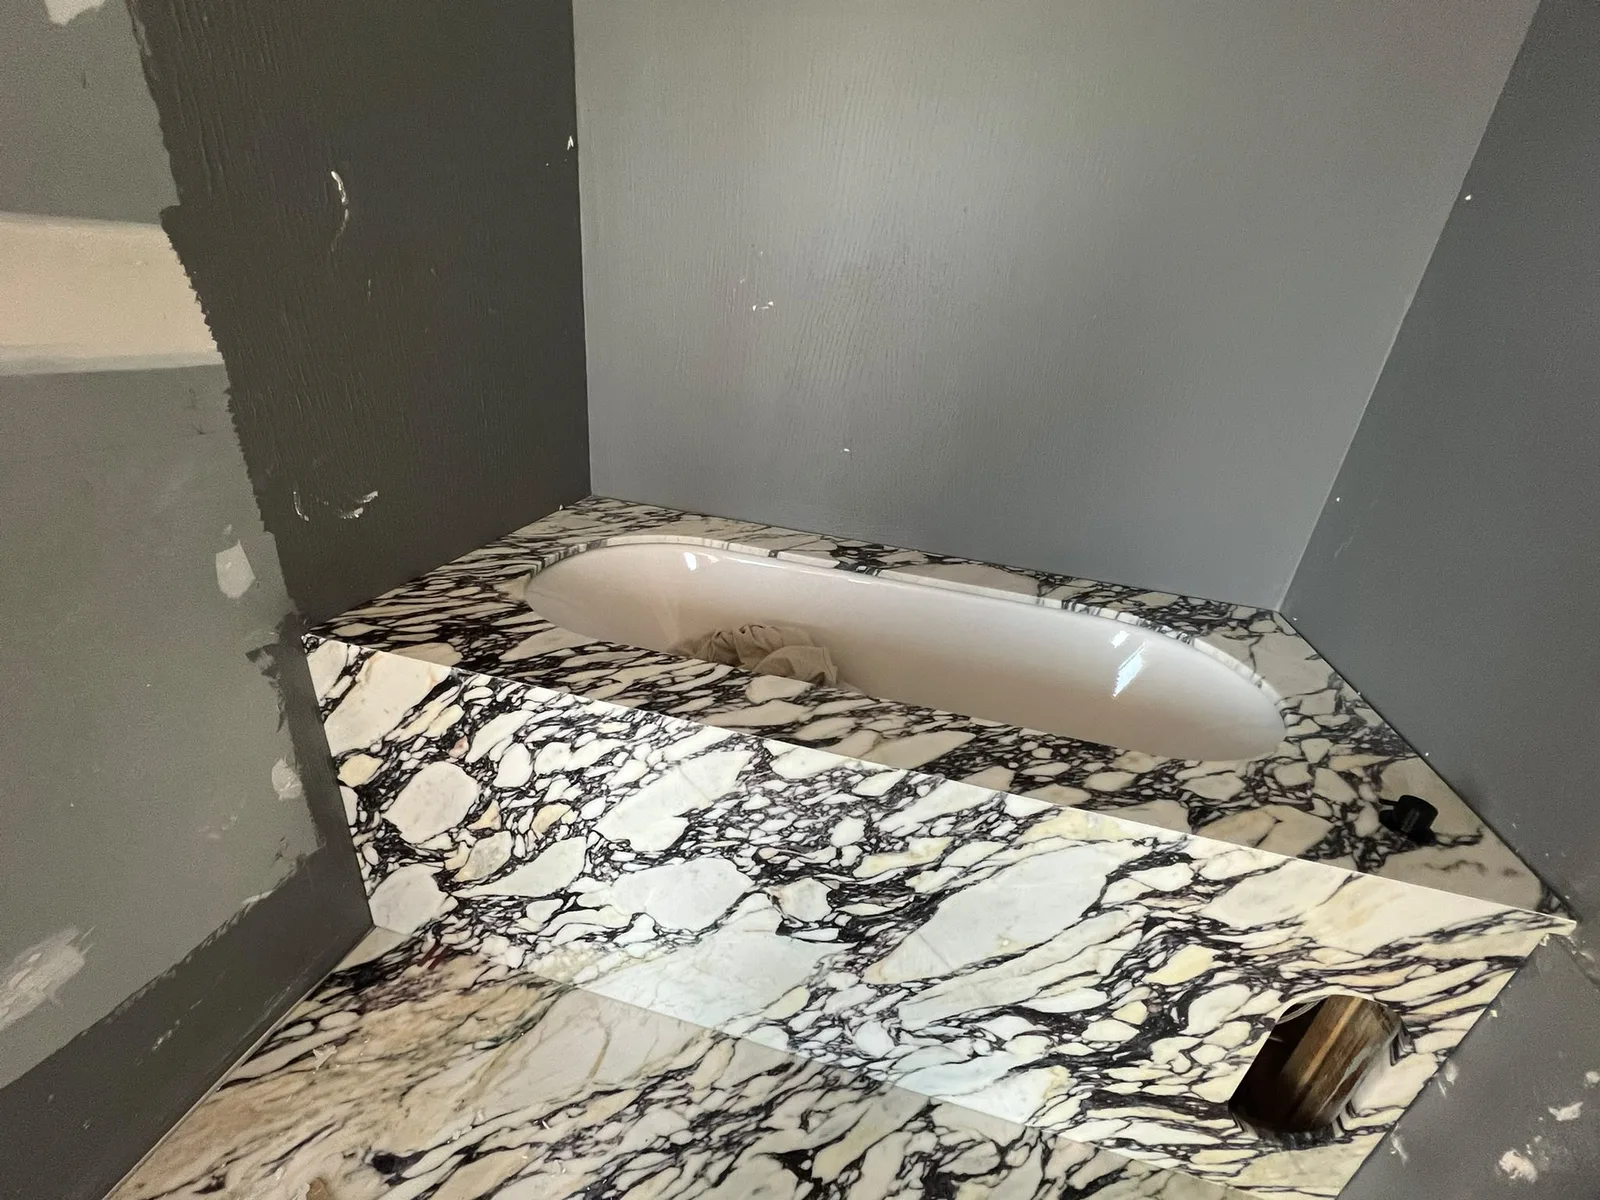
Silicone Resealing Across Melbourne & *The Peninsula*
We provide precision silicone removal & resealing across South East Melbourne and the Mornington Peninsula. Select your local suburb for local housing observations and service details:
Related Trade Services
Shower & Bathroom Regrouting
Remove crumbling, mould-affected grout and seal joints properly without removing your tiles.
Epoxy Grouting
Non-porous, chemical-resistant two-part resin grout for showers that endure heavy daily use.
Leaking Shower Repairs
Diagnose and repair leaking showers without costly demolition where the membrane allows.
Suburbs We Service Daily
We provide silicone removal & resealing across South East Melbourne and the Mornington Peninsula:
Frequently Asked *Questions* About Silicone Resealing
Clear, honest answers about preparation, materials, curing times, and warranties.
Get a Free Quote for Silicone Resealing
Send 3 to 5 photos of your tiled area. We will inspect your joint condition, confirm the exact scope of silicone removal & resealing, and provide an accurate price.