
Professional Bathroom Wall & Floor Tiling
Precision Tile Laying With Accurate Falls to Waste
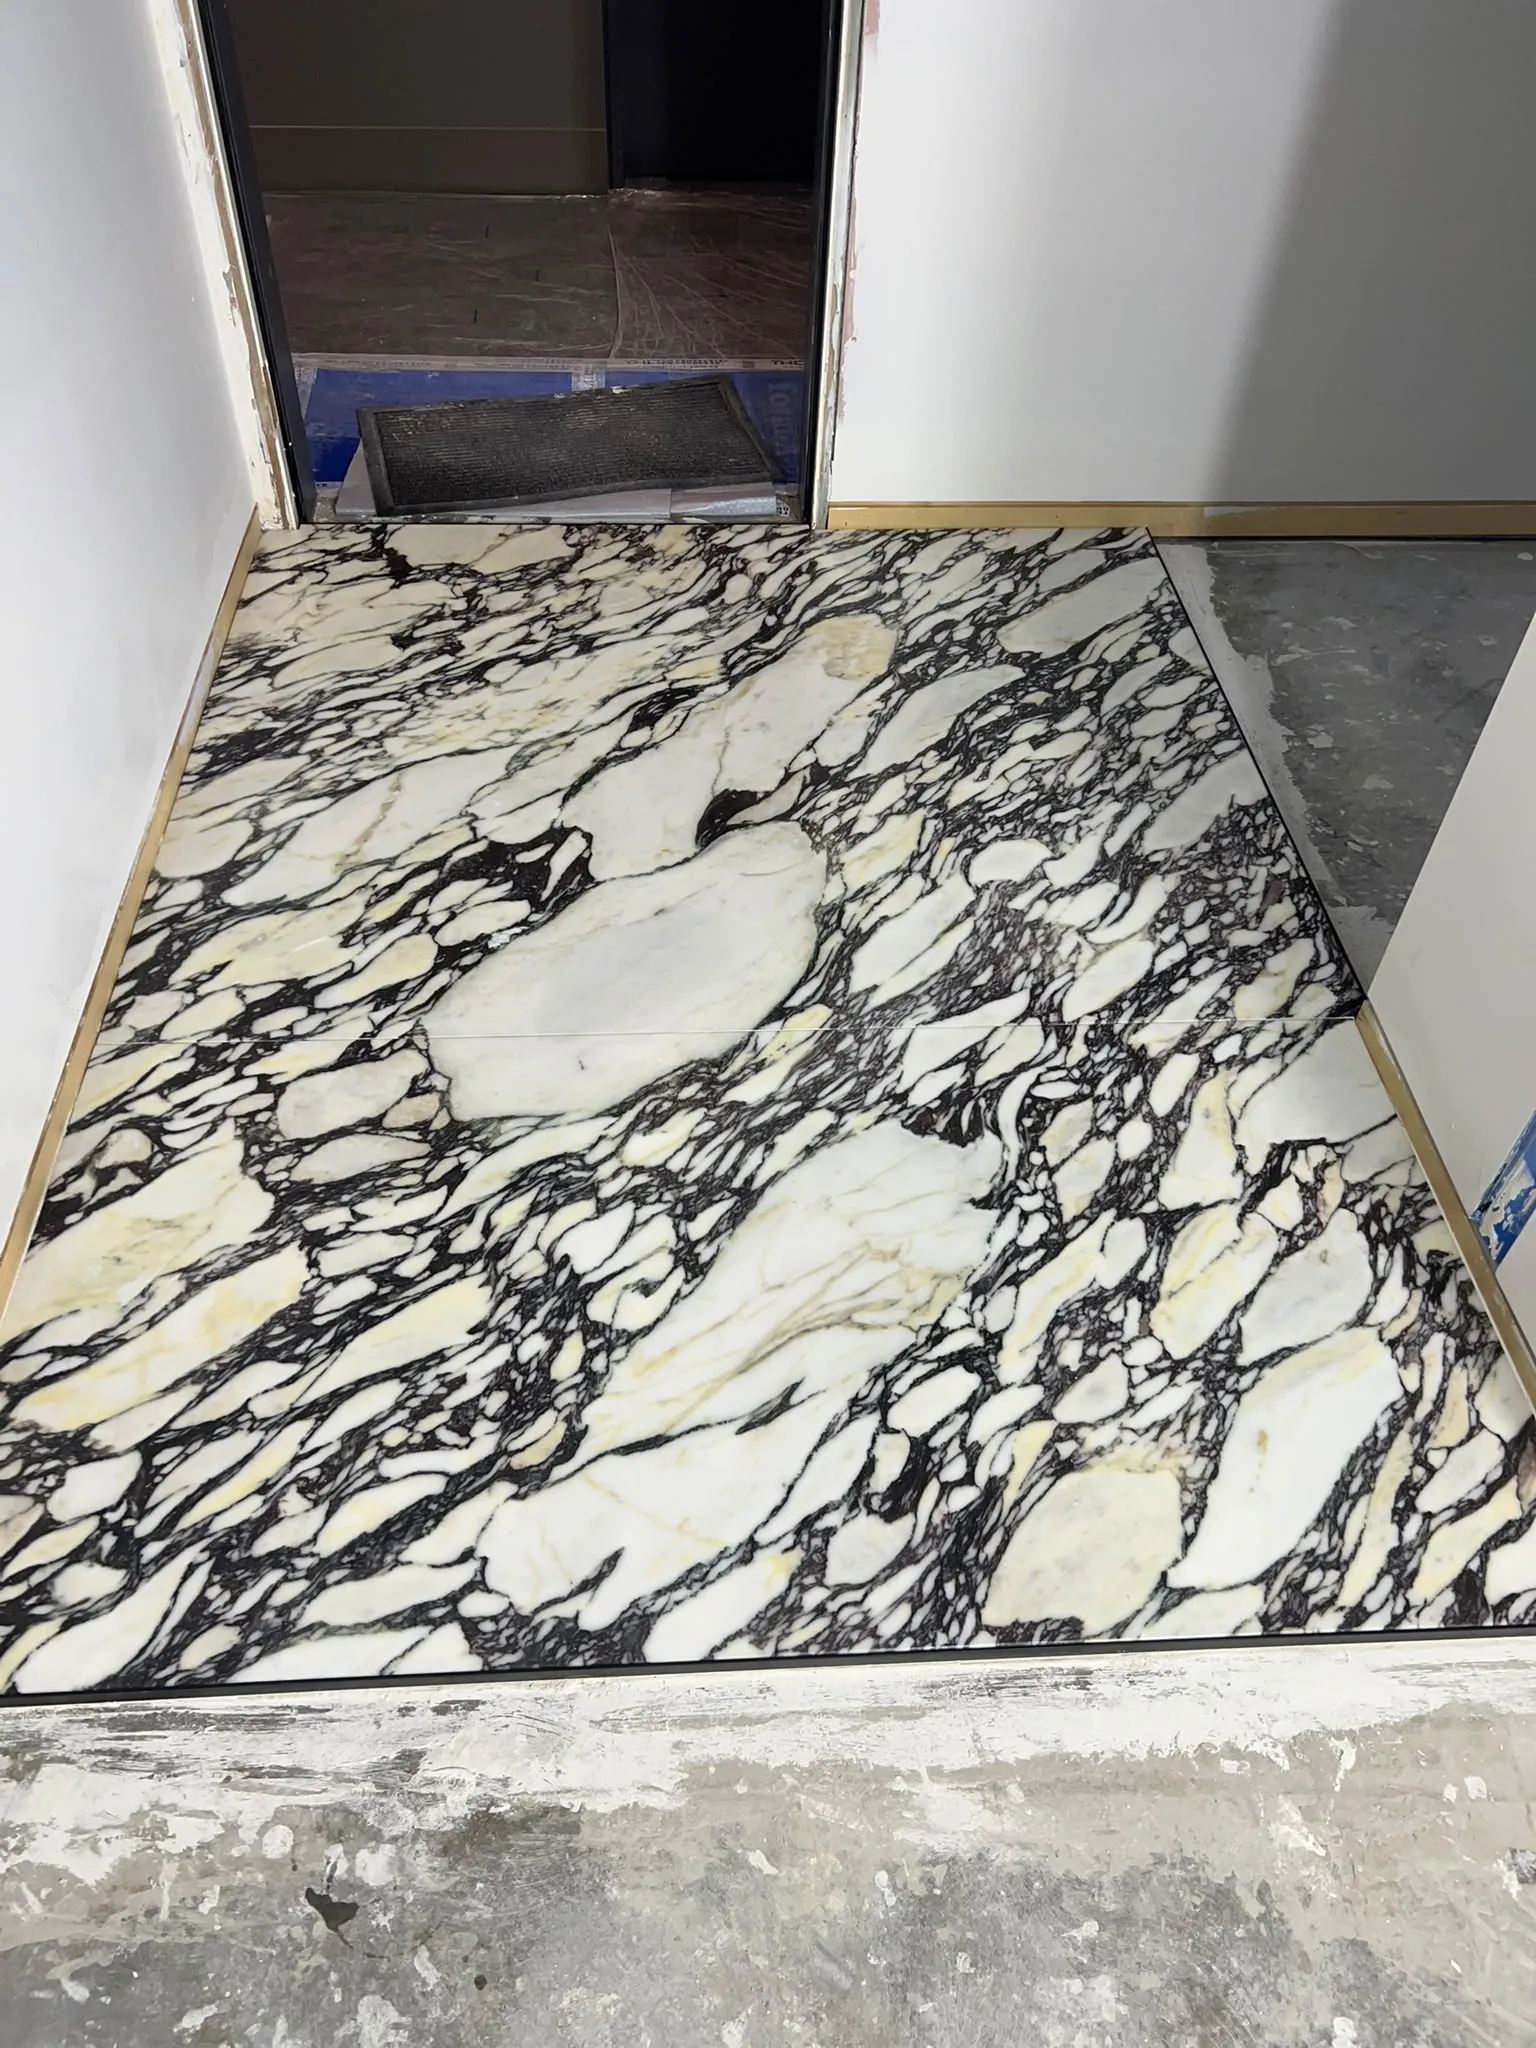
We lay porcelain, ceramic, natural stone, and mosaic tiles across bathroom floors, shower enclosures, and feature walls with meticulous layout planning and zero tile lippage.
What We Do & The Problem We Solve
Bathroom tiling is precision finish carpentry in stone and ceramic. A well-tiled bathroom requires far more than sticking tiles to a wall—it demands accurate screeding to ensure water drains freely toward the waste, laser-straight joint alignment, and full adhesive coverage to prevent hollow spots.
Modern large-format porcelain tiles and rectified edge ceramics leave zero margin for error. If the substrate is out of plane by even two millimetres, tile edges can catch toes (lippage) and create uneven grout channels that trap soapy water.
We approach bathroom tiling with methodical trade discipline. We check framing plumb and screed falls, plan tile layouts symmetrically to avoid unsightly sliver cuts in prominent corners, and use mechanical clip-and-wedge levelling systems on every installation.
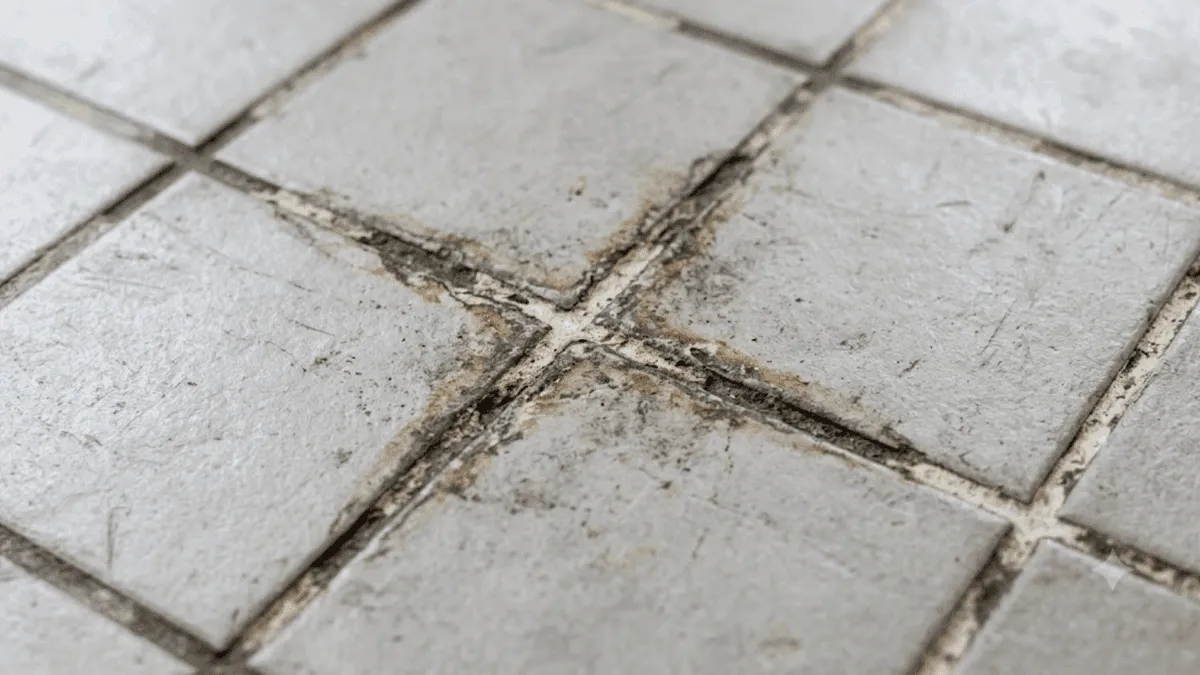
Signs Your Existing Bathroom Tiling Needs Renewal
- Water pooling in corners of the shower instead of draining toward the floor waste
- Uneven tile edges (lippage) that catch your bare feet or stub toes on the floor
- Hollow or 'drummy' tiles that click or sound empty when tapped with a knuckle
- Cracked tiles caused by inadequate adhesive transfer or floor deflection
- Outdated 1980s or 1990s ceramic tiles that make an otherwise functional home feel tired
- Messy cuts and uneven joints around tap spigots, shower screens, and toilet wastes
Our Bathroom Tiling Method
Every step is executed with commercial-grade tooling to ensure a long-lasting, watertight result.
Substrate Verification & Floor Screeding
We verify substrate flatness and apply bonded sand-and-cement screeds with precise falls (minimum 1:60 to 1:80) directly toward central or linear strip drains.
Laser Alignment & Layout Planning
We shoot 3D laser lines across the room, centring tile layouts to balance cuts evenly across opposing walls and align horizontal joints with shower niches.
Full-Coverage Adhesive Bedding
Using calibrated notched trowels and back-buttering on large-format tiles, we ensure >90% adhesive contact to eliminate hollow pockets behind tiles.
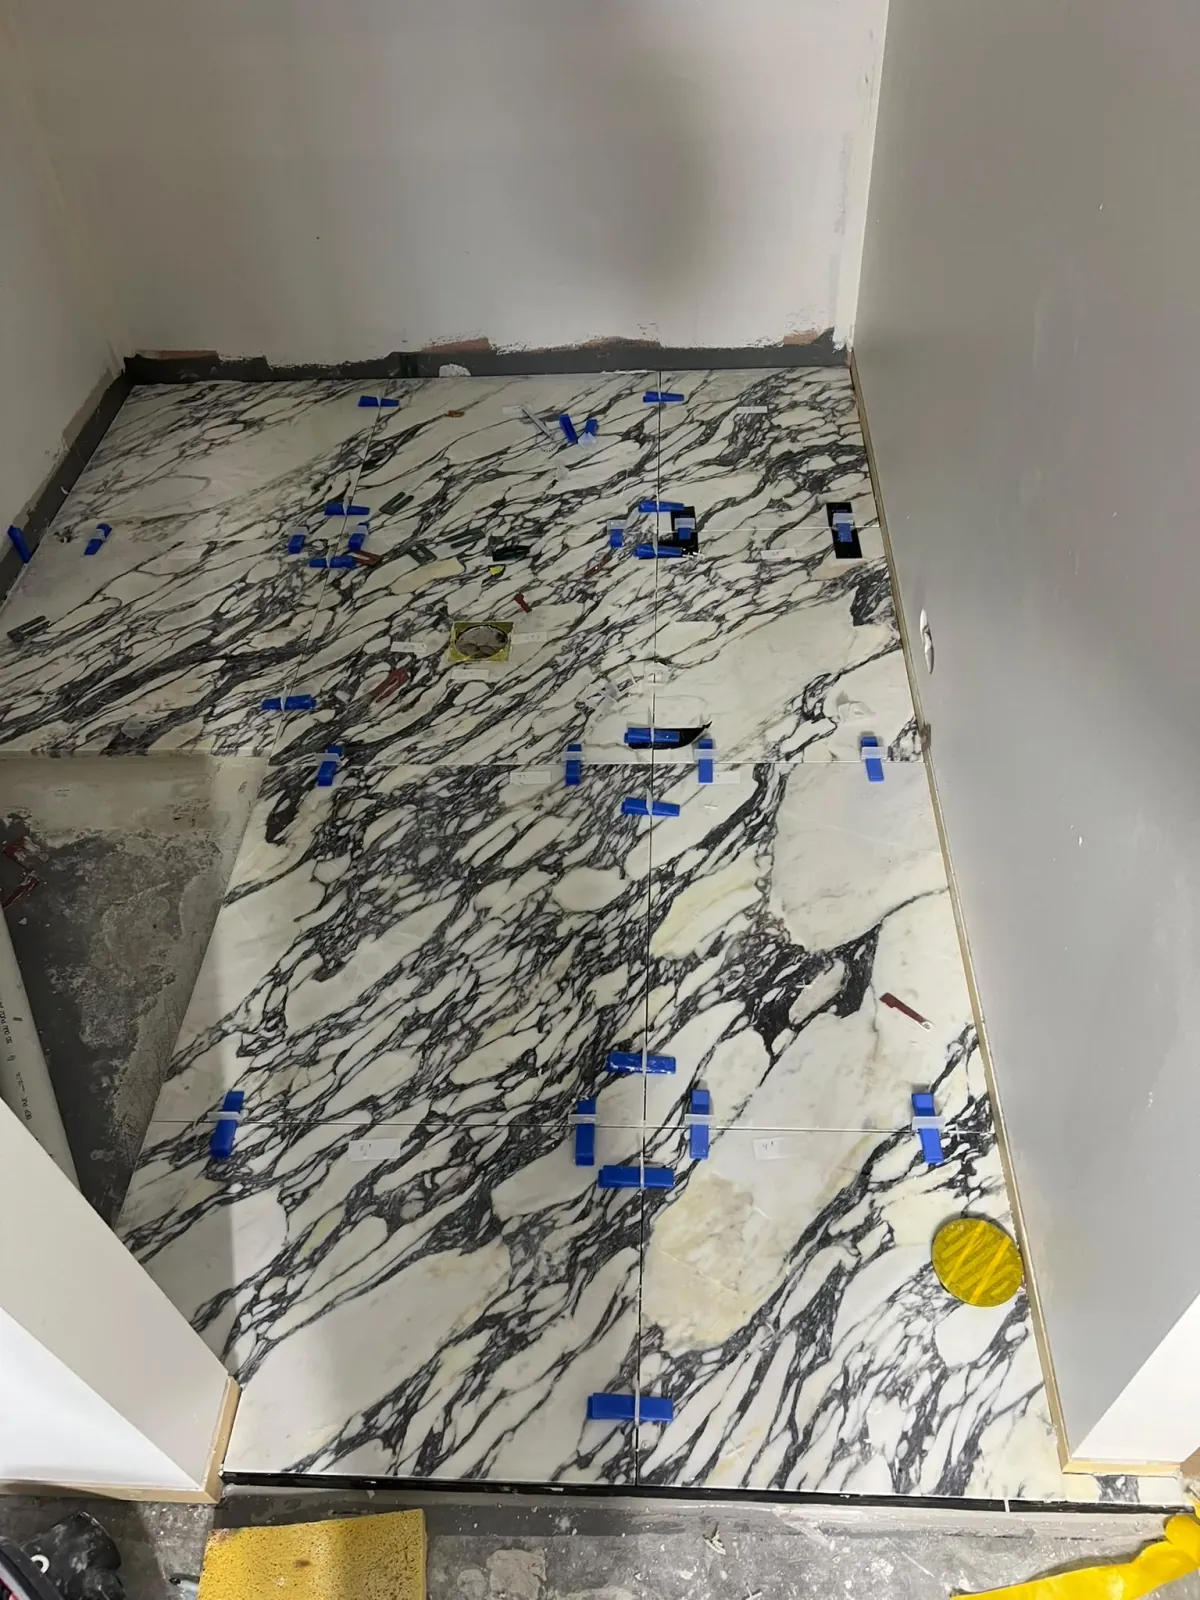
Mechanical Clip Levelling System
Levelling clips and wedges are inserted between every tile edge to pull surfaces flush, creating flat, even floor and wall planes.
Grouting & Expansion Silicone Sealing
Joints are firmly packed with polymer or epoxy grout, and all internal perimeter junctions receive matching sanitary silicone.
We remove degraded grout to a clean uniform depth and thoroughly sanitise the joint cavity before injecting new compound.
Is This Service Right for Your Bathroom?
We believe in straightforward trade advice. Here is an honest breakdown of when this service succeeds, and when a different approach is necessary.
When Bathroom Tiling Is Suitable
- Full bathroom renovations down to timber studs or freshly plastered walls
- Shower recess rebuilds following sub-tile waterproofing replacement
- Floor tile overlays where existing substrates are structurally stable and permit height transitions
- Feature wall upgrades, vanity splashbacks, and recessed shampoo niche installations
When Tiling Should NOT Proceed
- Substrates that have not been waterproofed according to AS 3740:2021
- Timber floorboards that flex excessively without fibre-cement underlay sheeting
- Surfaces with active dampness or unresolved internal plumbing pipe leaks
- Laying over loose, unbonded, or drummy existing tiles without full removal
Honest Trade Advice: Waterproofing Membranes vs. Regrouting
Regrouting and perimeter silicone replacement restore damaged, porous, or mouldy joints. However, regrouting addresses grout-level water ingress but cannot repair or restore a failed waterproofing membrane. Under Australian building standards (AS 3740), internal waterproofing membranes sit beneath the screed and tile bed. If that membrane or structural substrate has failed, regrouting alone cannot fix an underlying leak. We provide clear, honest assessments from photos and on-site checks so you only pay for what actually solves the problem.
Tile Formats & Adhesives
Porcelain & Ceramic Formats
Expertise with large format (600x600, 600x1200mm), subway tiles, herringbone patterns, and intricate mosaics.
Polymer-Modified C2S1 Adhesives
High-bond, flexible cementitious adhesives engineered to accommodate thermal expansion on Melbourne concrete and timber subfloors.
Corner Trims & Mitres
Choice between seamless 45-degree hand-mitred tile edges or architectural anodised aluminium edge trims.
Adhesive Curing & Grouting Intervals
Follow manufacturer technical data sheet instructions. Standard polymer-modified tile adhesives require 24 hours of curing before tiles can be safely walked upon or grouted. Allow adequate curing before subjecting newly tiled shower floors to running water.
Quality Hallmarks of Professional Tiling
Smooth, Lippage-Free Surfaces
Mechanical levelling clips ensure adjacent tile edges sit completely flush underfoot.
Correct Drainage Falls
Water sheds rapidly toward the shower waste without stagnant pooling or soap rings.
Full Adhesive Transfer
Back-buttering prevents hollow spots, ensuring tiles can withstand heavy impacts without cracking.
Balanced, Symmetrical Layouts
Cuts are planned to frame room features, avoiding awkward off-centre slivers along visible walls.
Before & After
Drag the comparison handle left or right to inspect before and after stages from our Melbourne work.
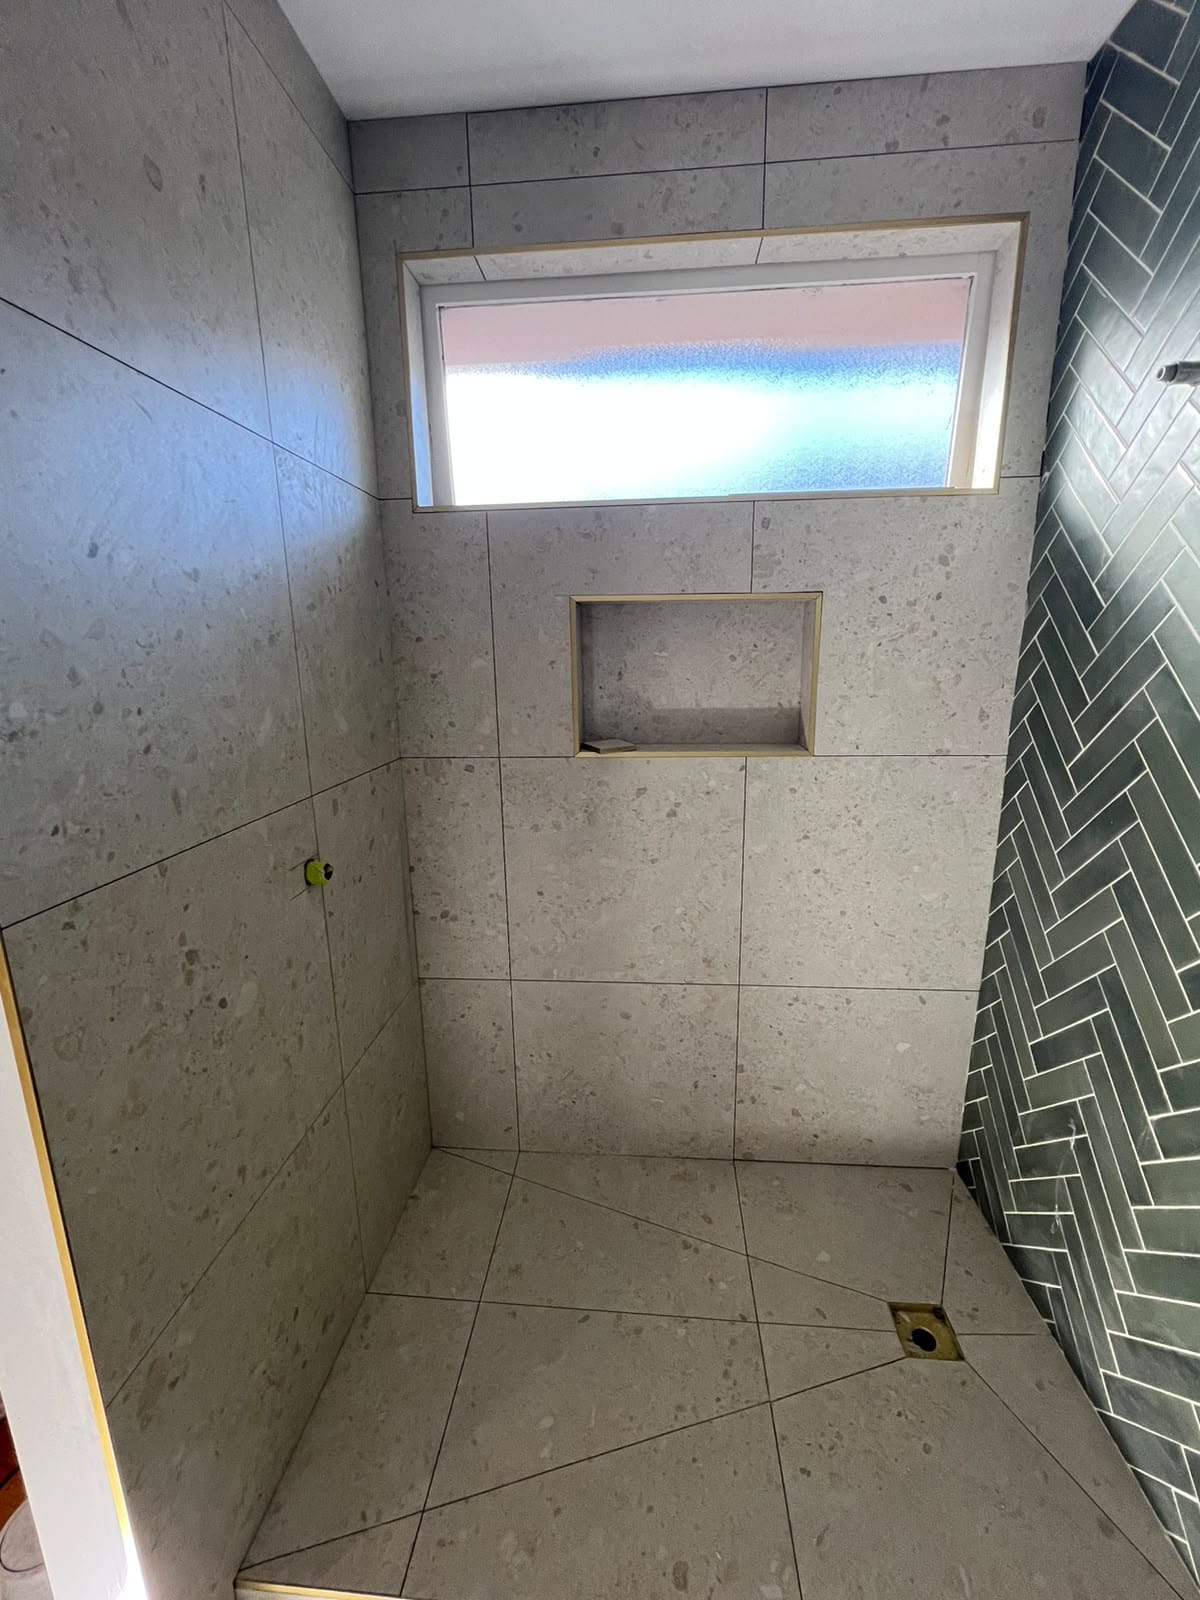
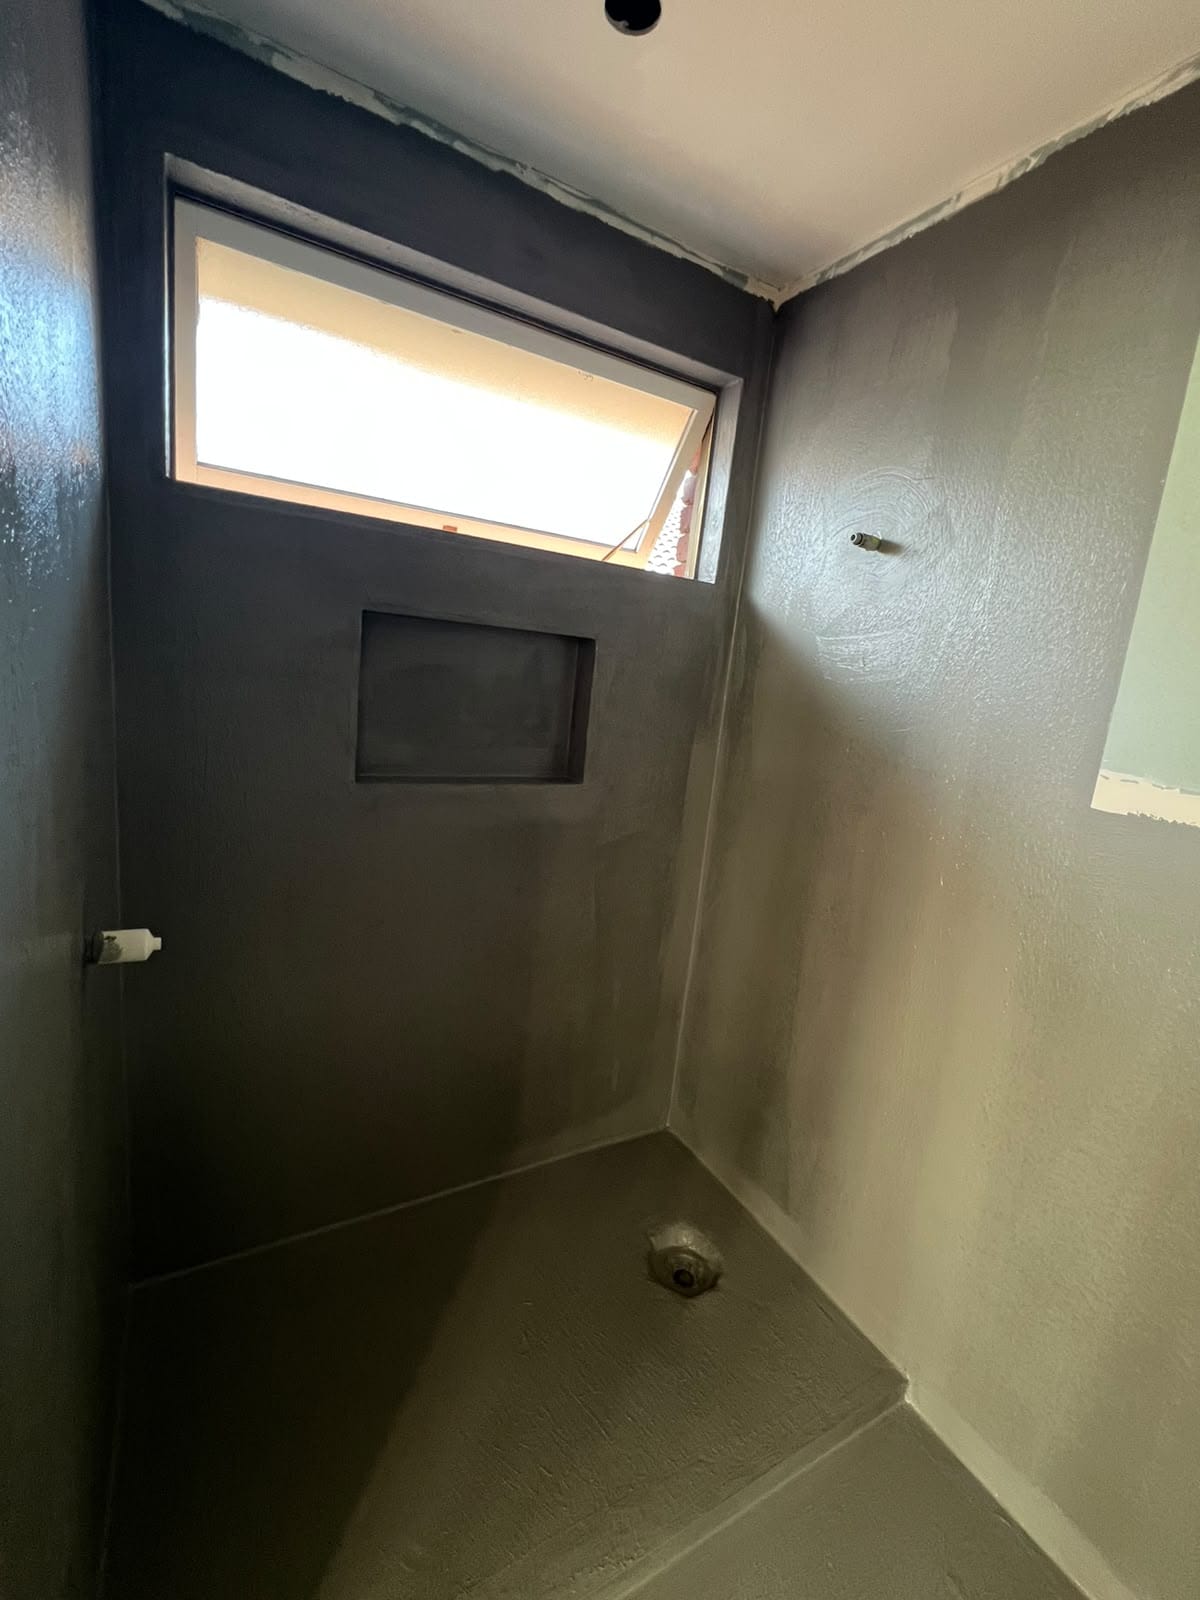
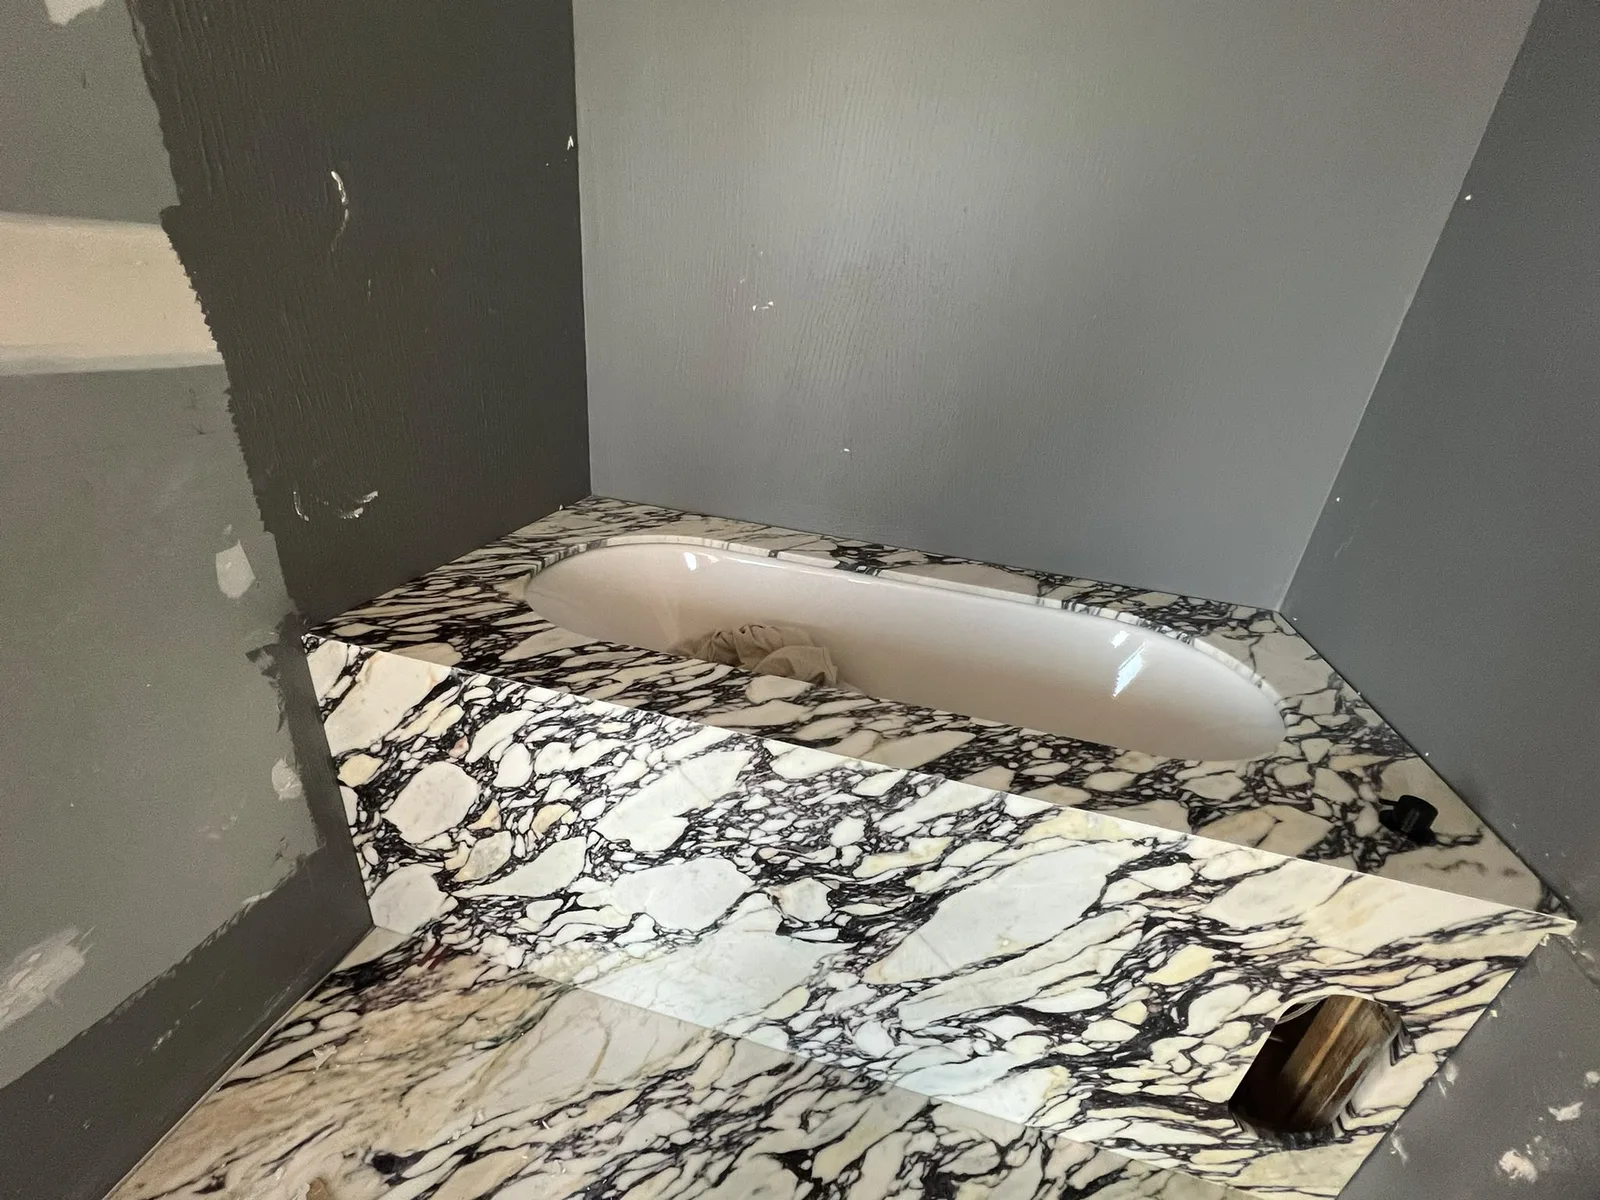
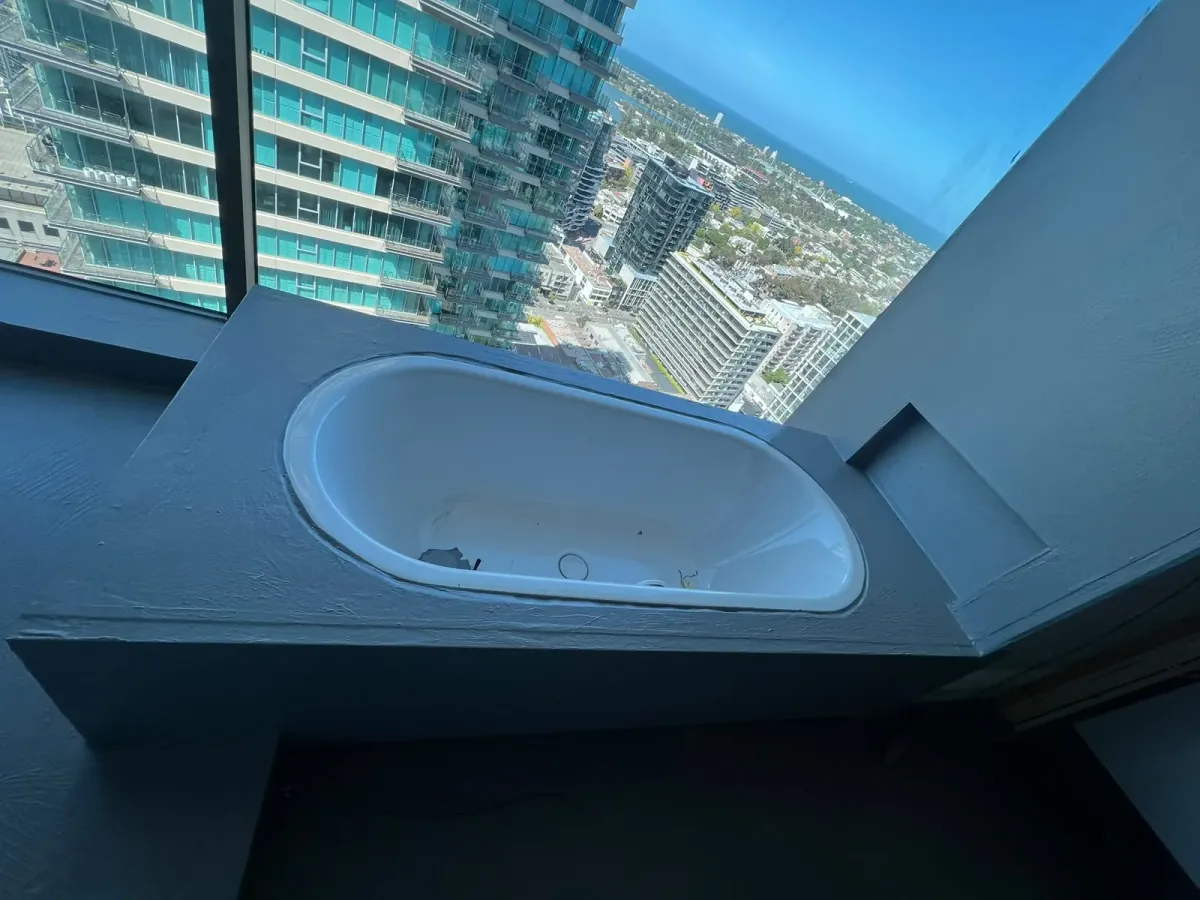
Additional Completed Views
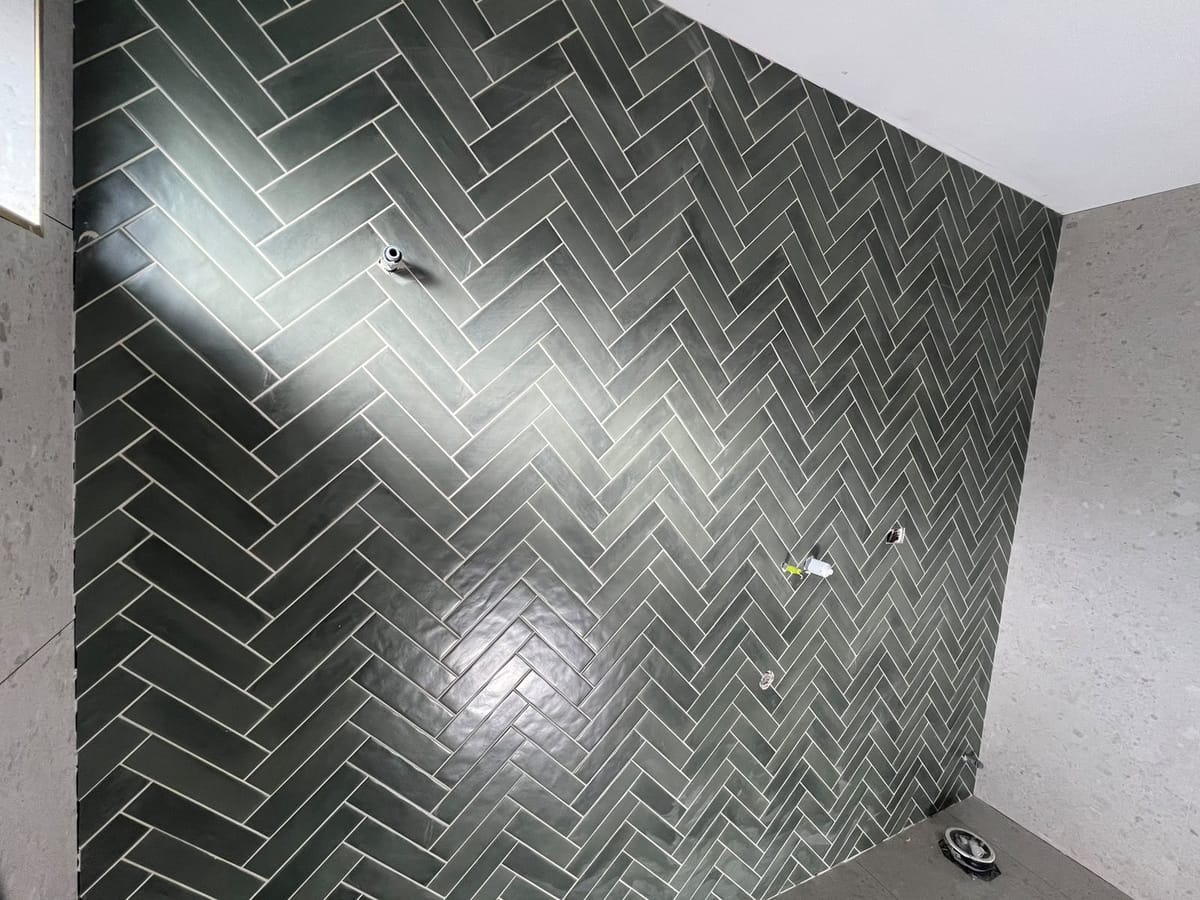 Bathroom TilingBathroom Tiling
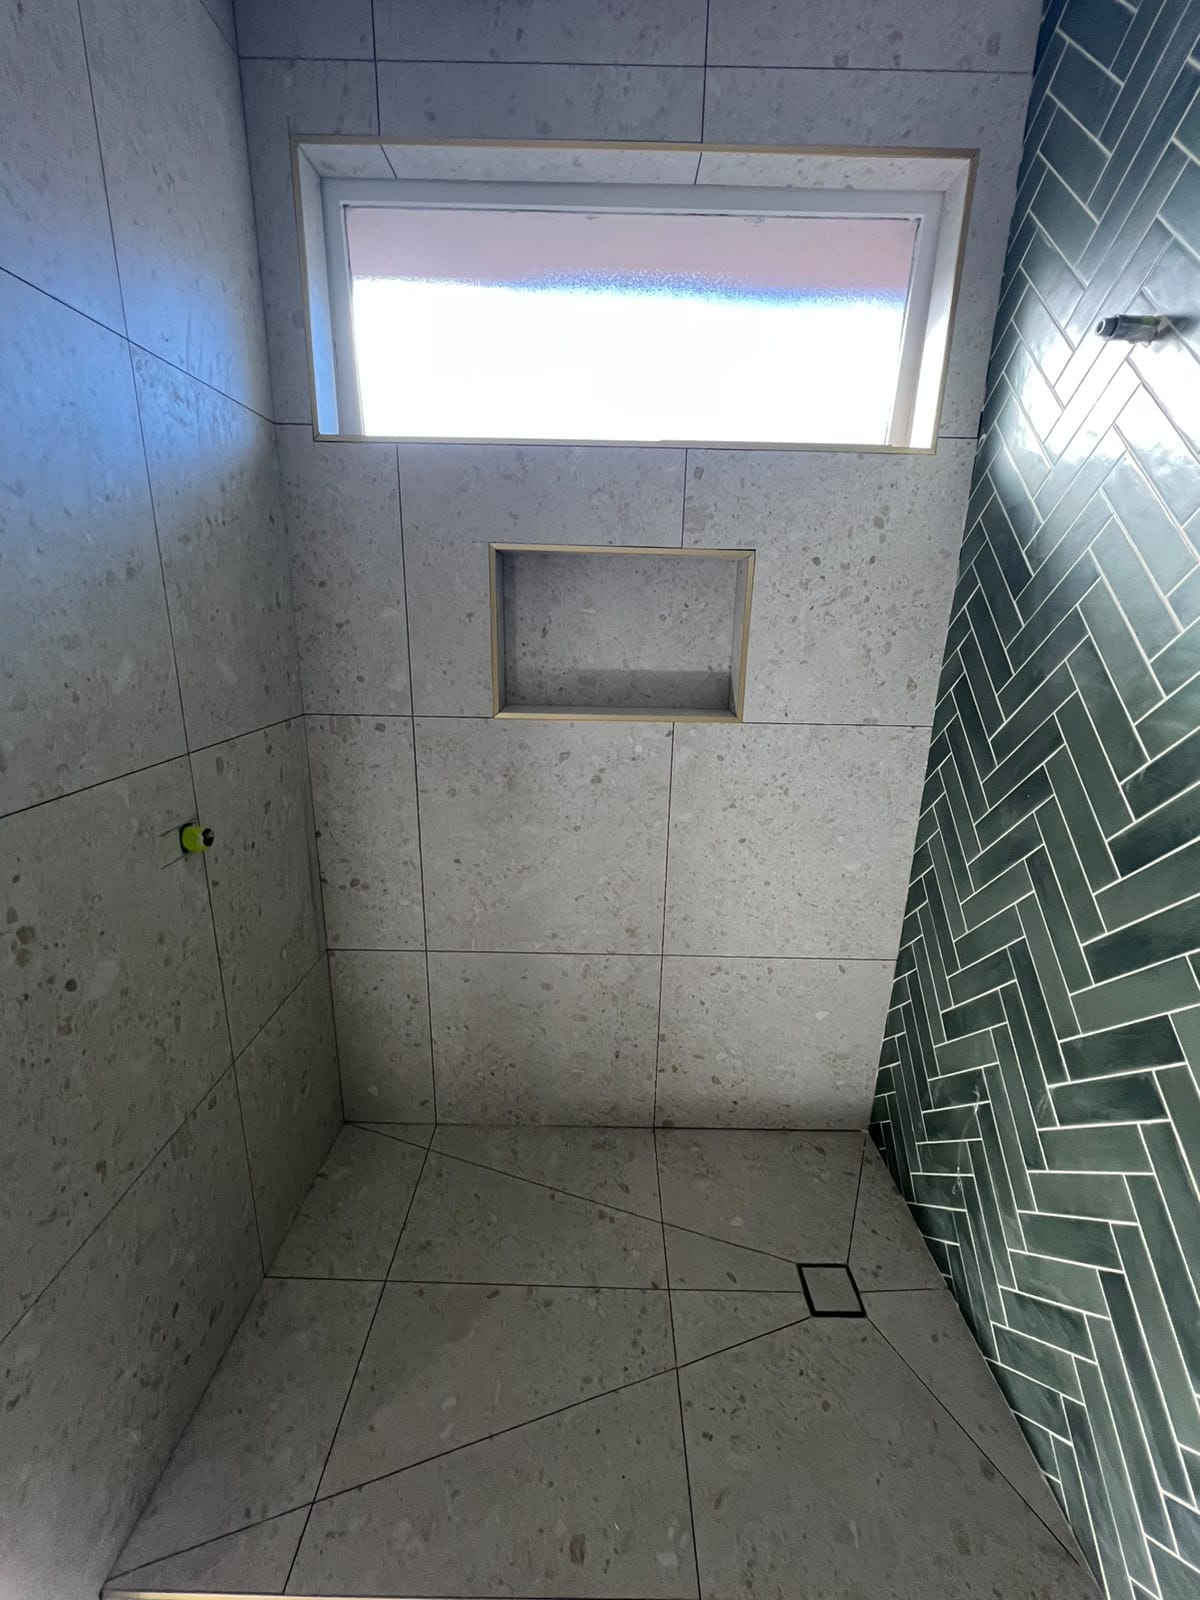 Bathroom Tiling
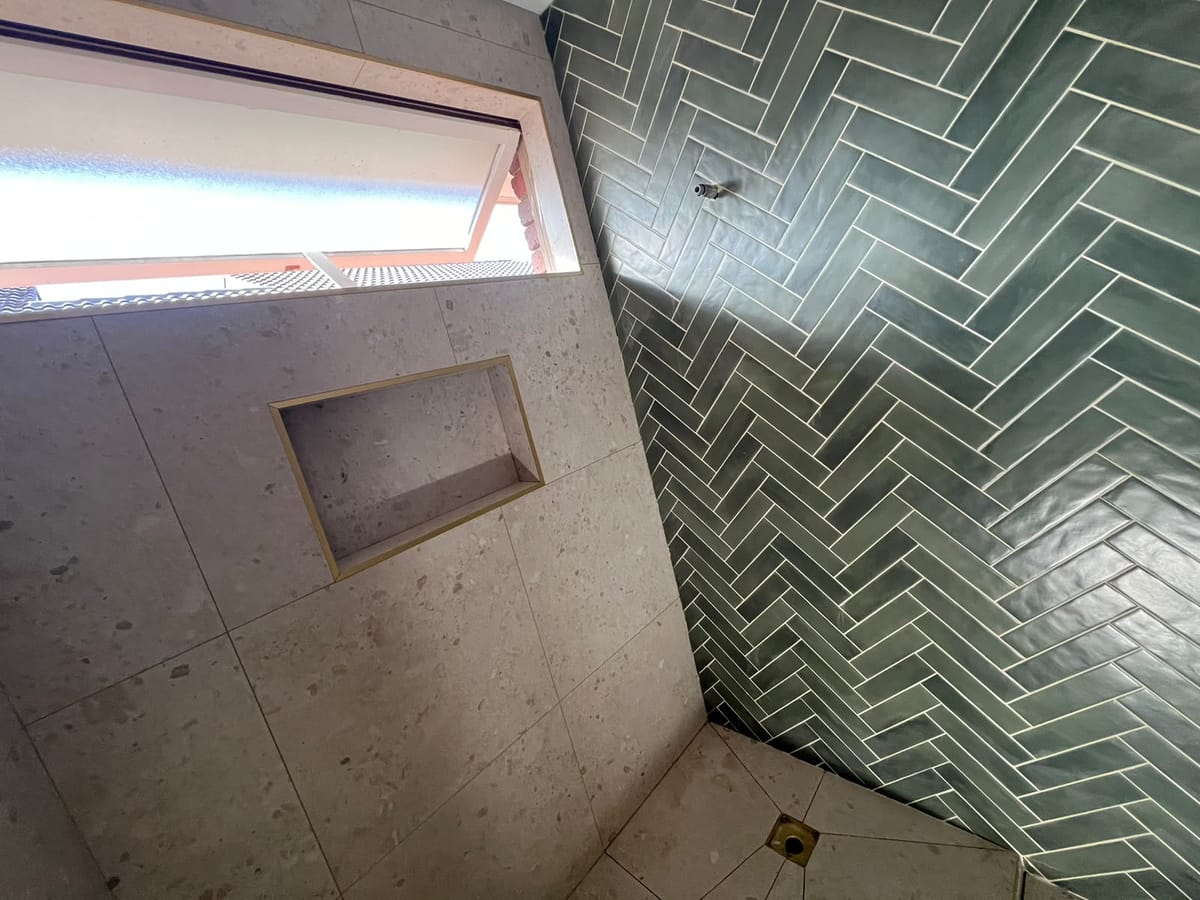 Bathroom Tiling
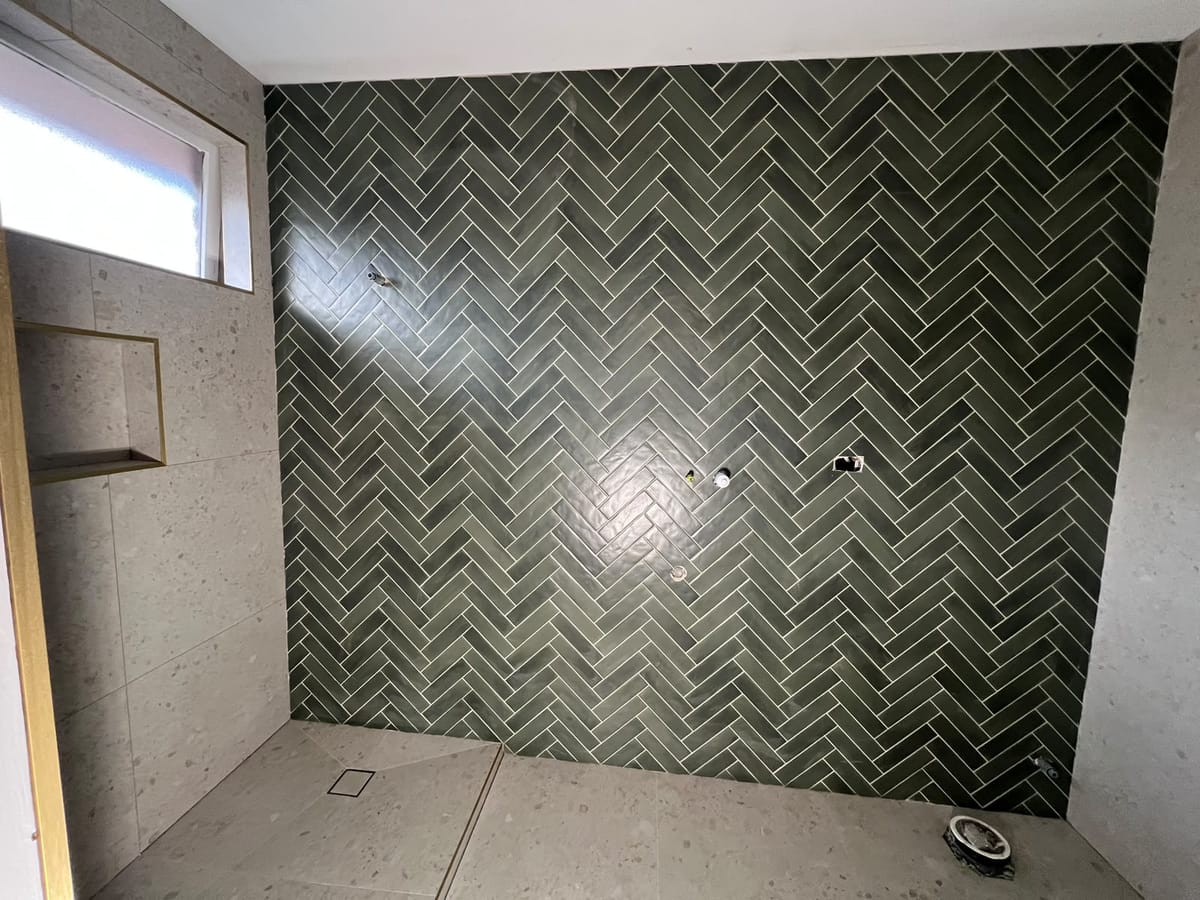 Bathroom TilingBathroom TilingBathroom Tiling
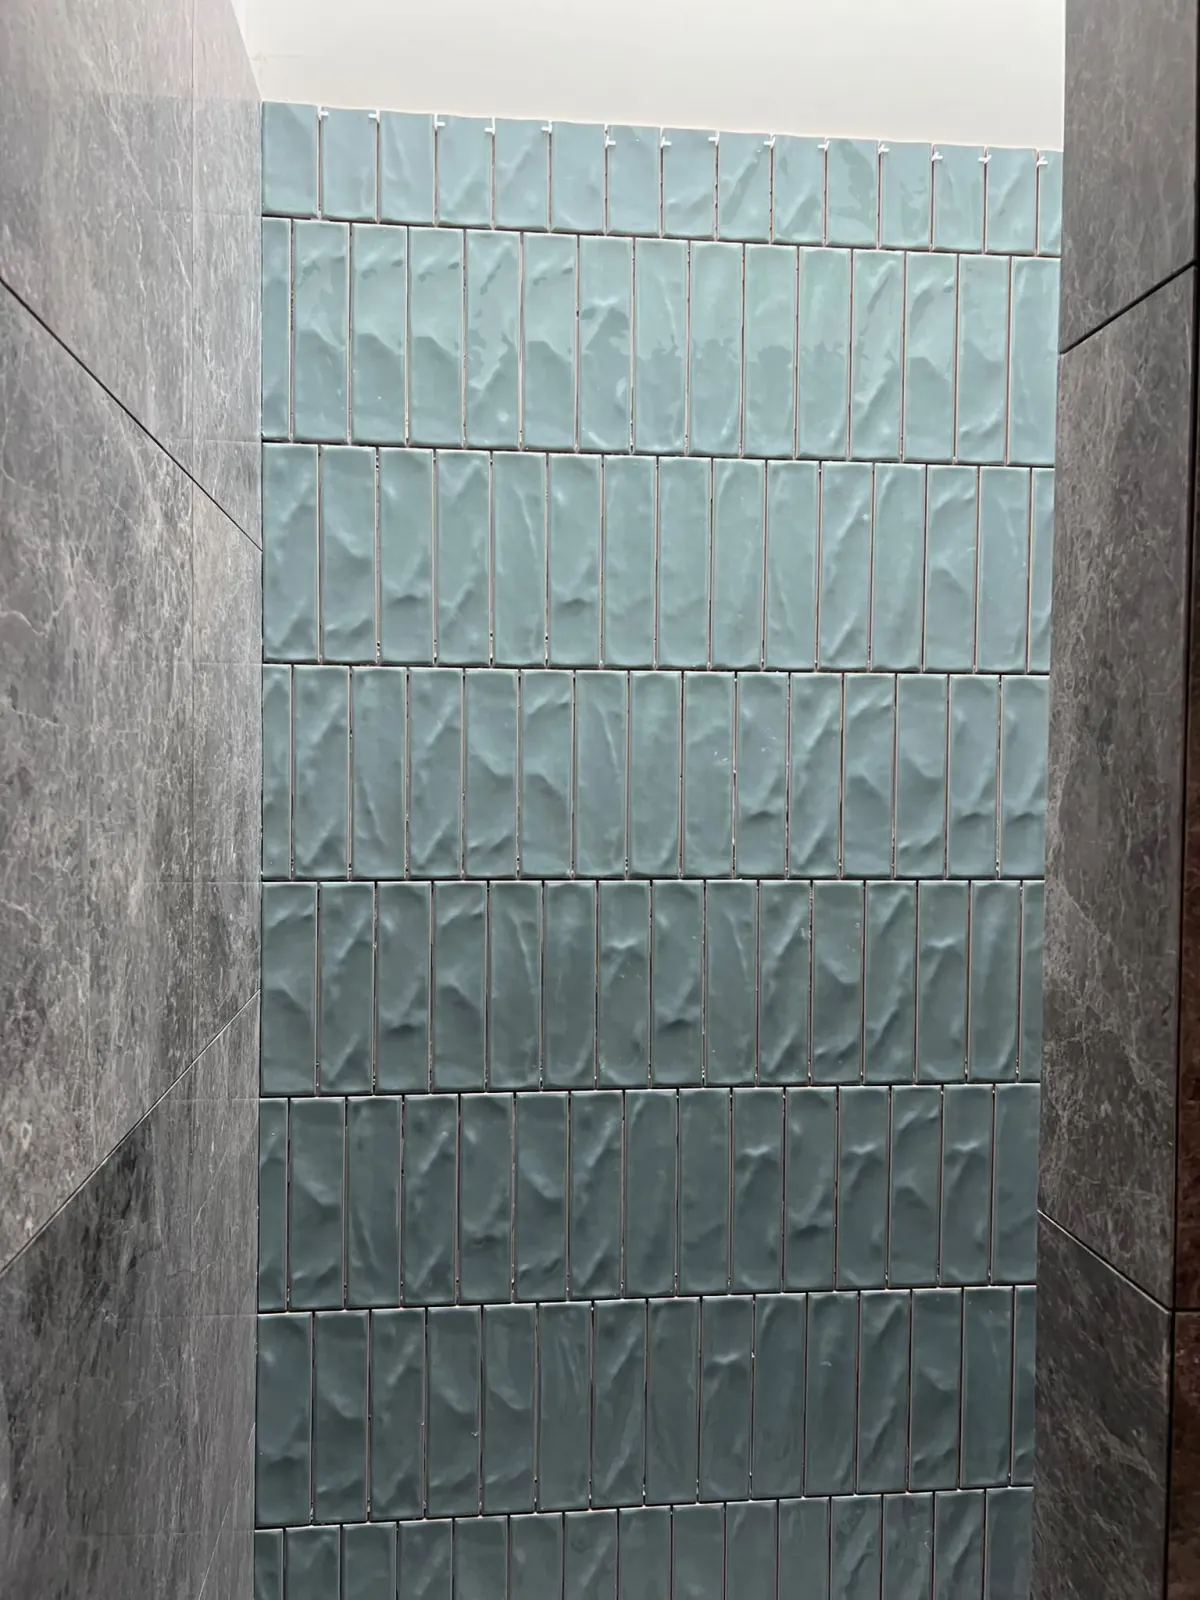 Bathroom Tiling
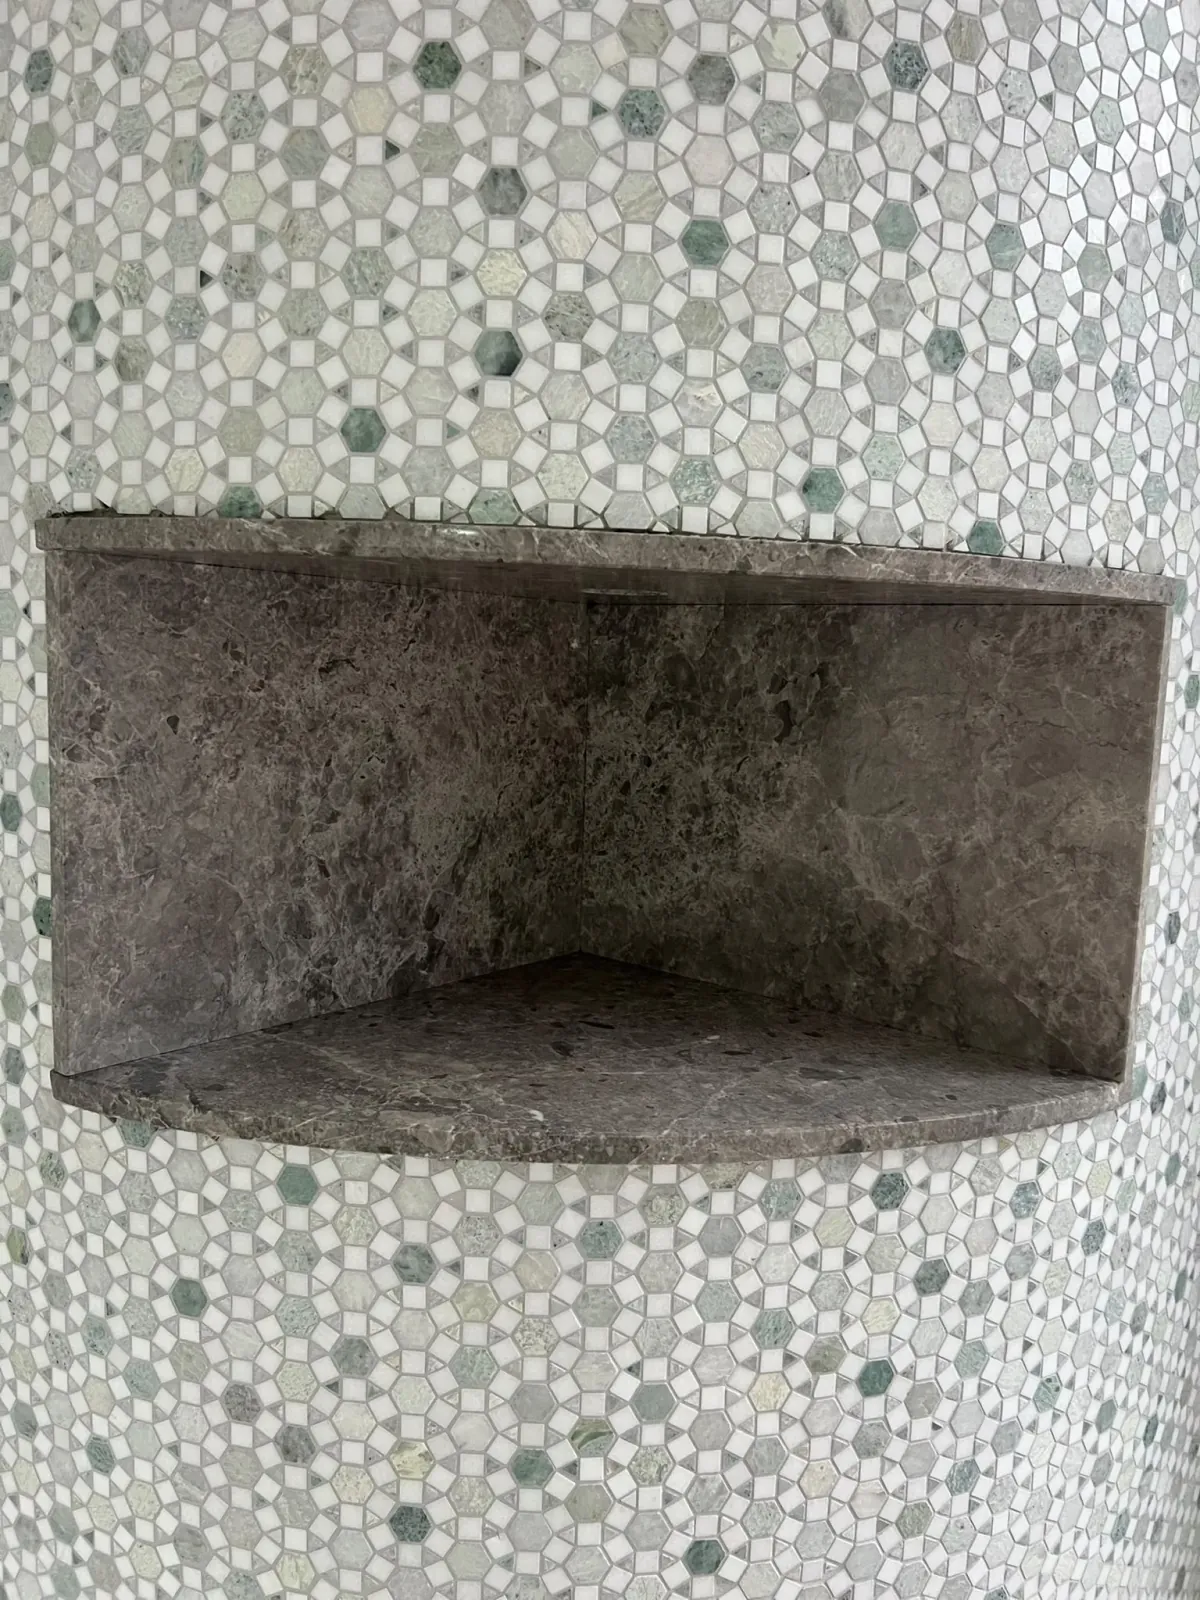 Bathroom Tiling
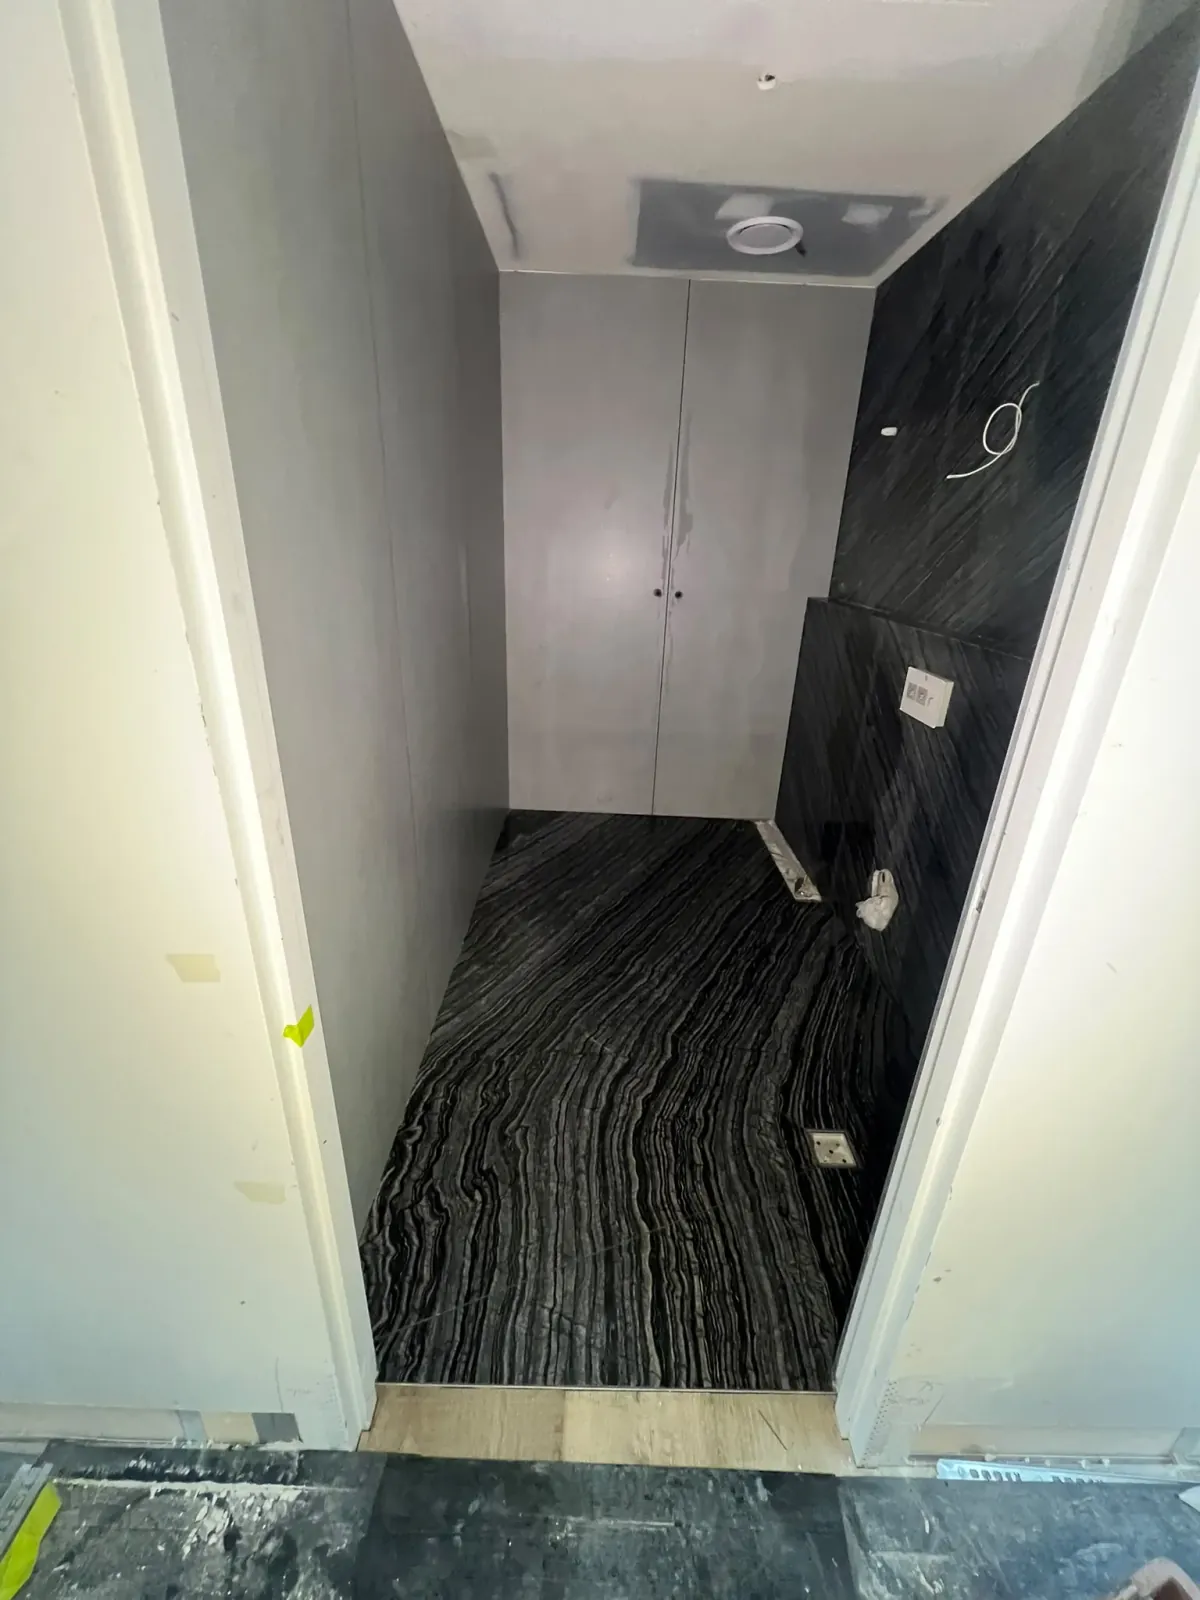 Bathroom Tiling
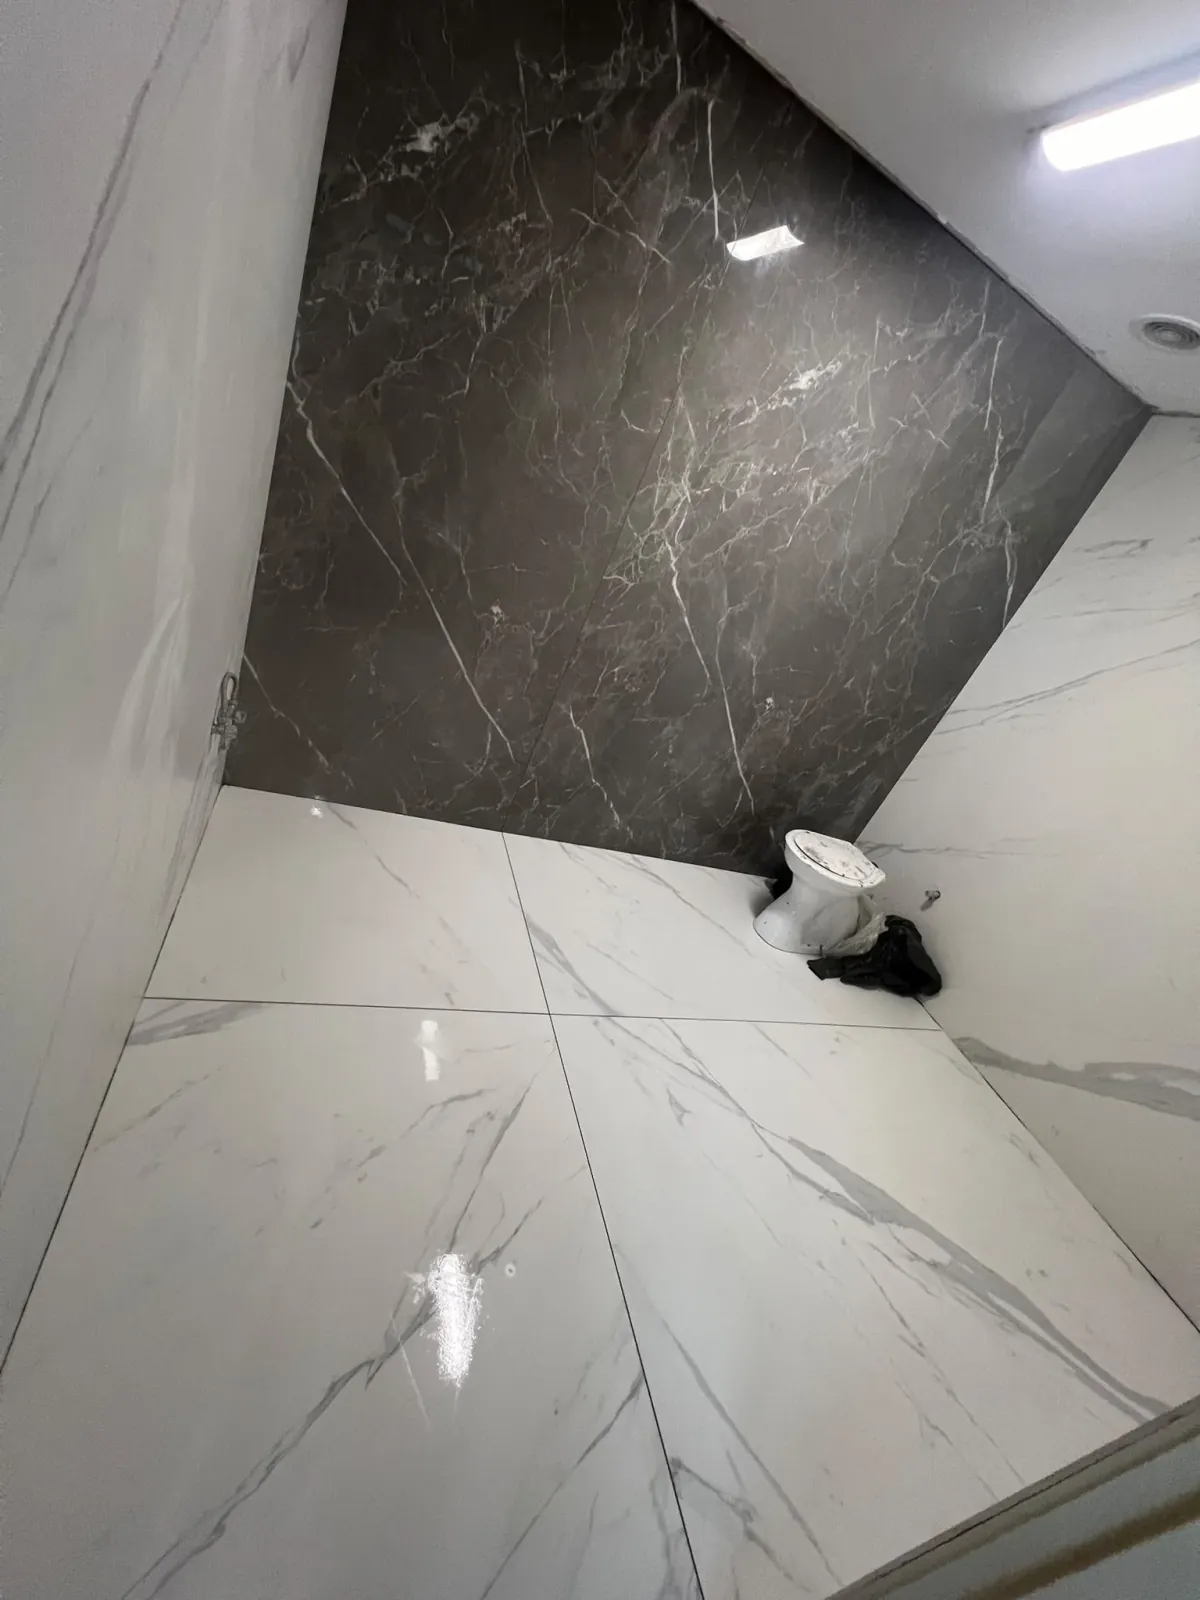 Bathroom Tiling
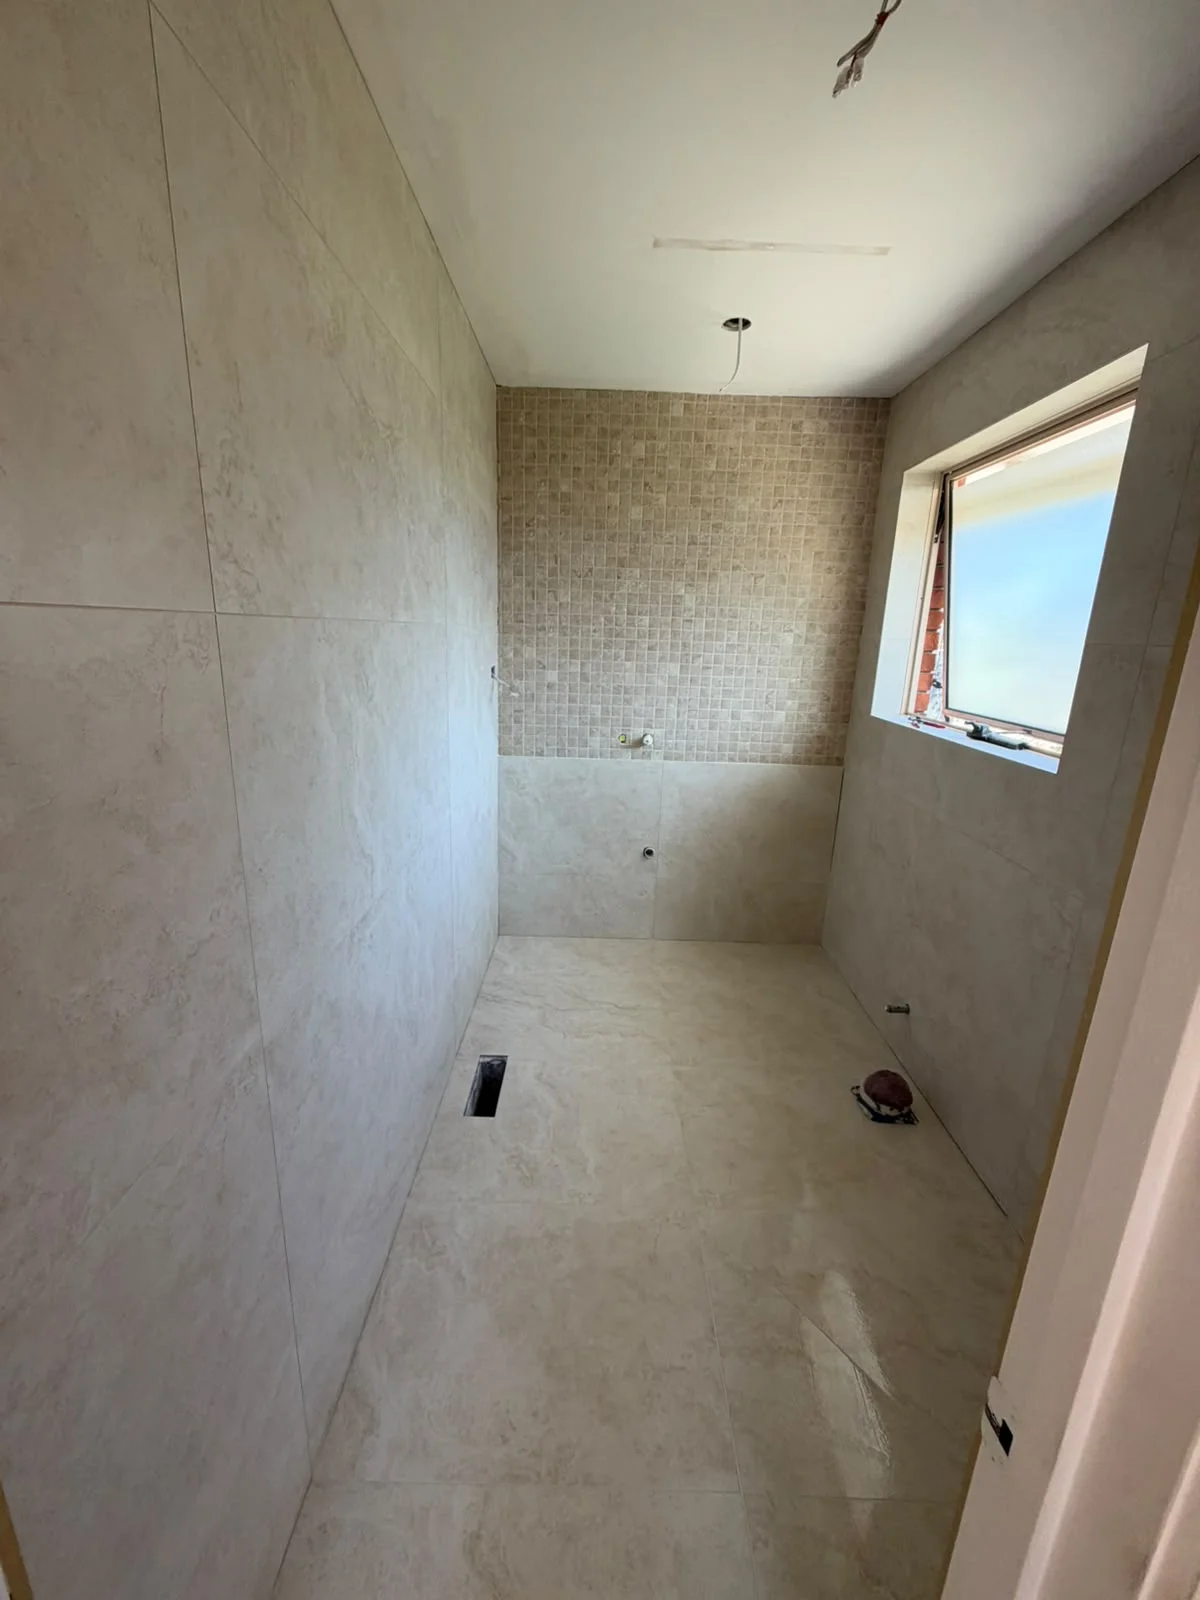 Bathroom Tiling
Experienced Craftsmen, Clean Finishes
Tiling is a lasting visual feature of your home. We treat your bathroom with respect, maintaining clean work zones, protecting your carpets, and executing cuts with water-cooled diamond saws.
- Water-cooled diamond saws ensure chip-free cuts on delicate porcelain
- Mitred 45-degree tile edges or sleek aluminium trim options for external corners
- Expert integration with linear strip drains and puddle flanges
- C2S1/C2S2 flexible polymer adhesives suited to Australian building movement
Bathroom Tiling Across Melbourne & *The Peninsula*
We provide precision bathroom tiling across South East Melbourne and the Mornington Peninsula. Select your local suburb for local housing observations and service details:
Related Trade Services
Bathroom Waterproofing
Compliant wet area waterproofing membranes applied to Australian Standard AS 3740:2021.
Leaking Shower Repairs
Diagnose and repair leaking showers without costly demolition where the membrane allows.
Shower & Bathroom Regrouting
Remove crumbling, mould-affected grout and seal joints properly without removing your tiles.
Suburbs We Service Daily
We provide bathroom tiling across South East Melbourne and the Mornington Peninsula:
Frequently Asked *Questions* About Bathroom Tiling
Clear, honest answers about preparation, materials, curing times, and warranties.
Get a Free Quote for Bathroom Tiling
Send 3 to 5 photos of your tiled area. We will inspect your joint condition, confirm the exact scope of bathroom tiling, and provide an accurate price.